Introduction
In image processing & computer vision, cropping of images is a common task where we keep a specific region of interest from an image and discard the rest. In this article, we will see various ways you can crop an image in Python by using libraries like OpenCV, Pillow, and NumPy.
Input Image
In this tutorial, we will use the below image in all the examples of cropping image with Python.

Visualizing the Cropping Area on Image
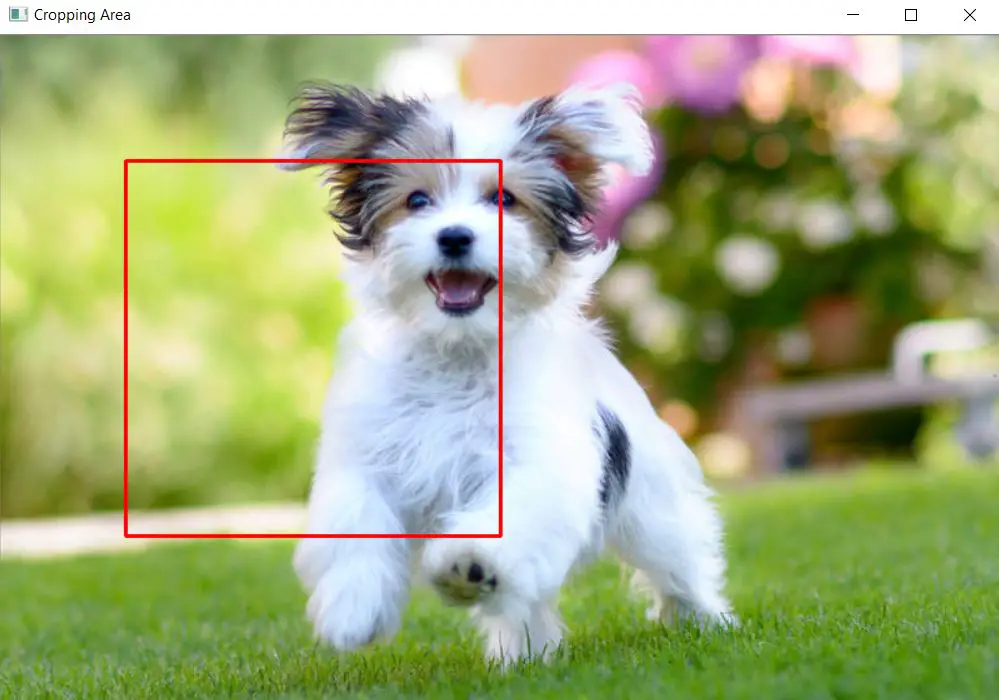
Before going into the actual examples let us first visualize the area that will be cropped out in all the examples. The red bounding box on the below image represents this area and is represented by coordinates of (left, top, right, bottom). Here ‘left’ and ‘top’ represent the coordinates of the top-left corner of the bounding box, whereas ‘right’ and ‘bottom’ represent the coordinates of the bottom-right corner of the rectangular bounding box.
import cv2

# Read the image
image = cv2.imread("dog.jpg")

# Define the crop box (left, top, right, bottom)
left, top, right, bottom = 100, 100, 400, 400

# Draw the bounding box on the image
color = (0, 0, 255)  # Red color for the bounding box
thickness = 2  # Thickness of the bounding box
cv2.rectangle(image, (left, top), (right, bottom), color, thickness)

# Display the image with bounding box
cv2.imshow("Cropping Area", image)
cv2.waitKey(0)
cv2.destroyAllWindows()
Output
Cropping Image with NumPy Library
In this example, we open the image using the PIL library and convert it into a NumPy array. Next, we define the region of the image that we want to crop out. This is done by creating a bounding box defined by (left, top, right, bottom). Then we crop the image with NumPy slicing of the array and extract the region defined by bounding box coordinates. Finally, we convert this array back to the image and show the cropped image as output.
import numpy as np
from PIL import Image

# Open the image
image = Image.open("dog.jpg")

# Convert the image to a NumPy array
image_array = np.array(image)

# Define the crop box (left, top, right, bottom)
left, top, right, bottom = 100, 100, 400, 400

# Crop the image using NumPy array slicing
cropped_image_array = image_array[top:bottom, left:right, :]

# Convert the cropped NumPy array back to an image
cropped_image_pil = Image.fromarray(cropped_image_array)

# Display the cropped image
cropped_image_pil.show()
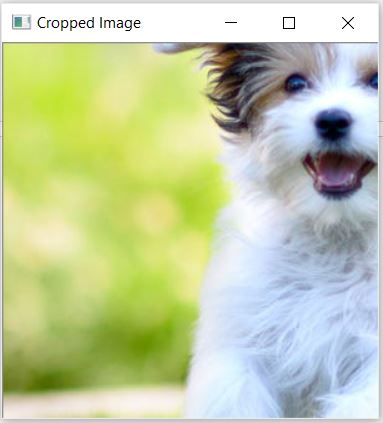
Output

Cropping Image with Pillow Library
In this example, we will see how the Python Pillow library can be used for cropping images. Again we start by opening the image and then define a bounding box for cropping the image by using (left, top, right, bottom) coordinates. Next, we use the crop function of the Pillow library to crop the image by passing the crop box coordinate as a parameter. Finally, we display the cropped image as output.
from PIL import Image

# Open the image
image = Image.open("dog.jpg")

# Define the crop box (left, top, right, bottom)
crop_box = (100, 100, 400, 400)

# Crop the image using the defined crop box
cropped_image = image.crop(crop_box)

# Display the cropped image
cropped_image.show()
Output

Crop Image with OpenCV – Method 1
In this example, we take advantage of the fact that when OpenCV reads the image, the image is essentially stored as a NumPy array. So after reading the image with cv2.imread() and defining the cropping bounding box with (left, top, right, bottom) coordinates we apply the slicing operation to crop the image out.
import cv2

# Read the image
image = cv2.imread("dog.jpg")

# Define the crop box (left, top, right, bottom)
left, top, right, bottom = 100, 100, 400, 400

# Crop the image using the defined crop box
cropped_image = image[top:bottom, left:right]

# Display the cropped image
cv2.imshow("Cropped Image", cropped_image)
cv2.waitKey(0)
cv2.destroyAllWindows()
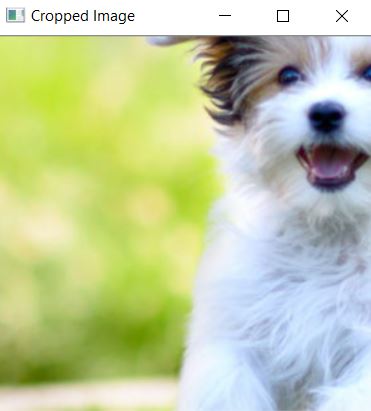
Output
Crop Image with OpenCV – Method 2
Here we are leveraging an OpenCV function cv2.getRectSubPix() which helps to extract a rectangular area from an image. This function takes the image, size of the patch defined by (width, height) and center coordinates of the patch as input.
Hence, this time we calculate height, width, and center by using crop box coordinates (left, top, right, bottom) and then use them in cv2.getRectSubPix() to crop the image.
import cv2

# Read the image
image = cv2.imread("dog.jpg")

# Define the crop box (left, top, width, height)
left, top, right, bottom = 100, 100, 400, 400
width = right - left
height = bottom - top

# Calculate the center of the crop box
center = ((left + right) / 2, (top + bottom) / 2)

# Crop the image using cv2.getRectSubPix()
cropped_image = cv2.getRectSubPix(image, (width, height), center)

# Display the cropped image
cv2.imshow("Cropped Image", cropped_image)
cv2.waitKey(0)
cv2.destroyAllWindows()
Output