Introduction
In this post, we will see various ways of doing image subtraction in Python by using NumPy, OpenCV, and Pillow libraries. The subtraction of images may sound a bit strange to beginners but images consist of numeric pixels hence we can perform pixel-wise subtraction between two images.
Subtraction of Images
When one image is subtracted from another it does pixel-wise subtraction where the pixel of the 2nd image is subtracted from the 1st image resulting in a new 3rd image.
Mathematically, when image B is subtracted from image A, the pixel-wise subtraction operation to get the output image C can be represented as follows –
C(x,y) = A(x,y) – B(x,y)
Where,
- A(x,y) represents the pixel value at position (x, y) in the image A.
- B(x, y) represents the pixel value at position (x, y) in the image B.
- C(x, y) represents the resulting pixel value at position (x, y) in the new image C.
A point to be noted here is that both images should be of the same size. Otherwise, we crop, resize, or pad to make both images the same size.
Use of Image Subtraction
Image subtraction has many practical use cases in computer vision, image processing, and computer graphics. Some of the regular use cases are –
- Detecting Changes in Images
- Background Subtraction
- Image Enhancement
- Image Registration
Input Image for Our Examples
We will use the images below for all our examples of image subtraction with Python.
Image 1

Image 2

Image Subtraction with Python NumPy
In this example, we first read the two images and convert them into NumPy arrays. Next, the 2nd array is subtracted from the 1st array by element-wise subtraction. We then take the absolute difference to ensure that the result is non-negative and then convert the result back to an unsigned 8-bit integer array. Finally the subtracted image is displayed as output.
import cv2
import numpy as np

# Load the two images
image1 = cv2.imread('image1.jpg')
image2 = cv2.imread('image2.jpg')

# Convert images to NumPy arrays
np_image1 = np.array(image1, dtype=np.int16)
np_image2 = np.array(image2, dtype=np.int16)

# Perform image subtraction
subtracted_image = np.abs(np_image1 - np_image2).astype(np.uint8)

# Display the result
cv2.imshow('Subtracted Image (NumPy)', subtracted_image)
cv2.waitKey(0)
cv2.destroyAllWindows()
Output
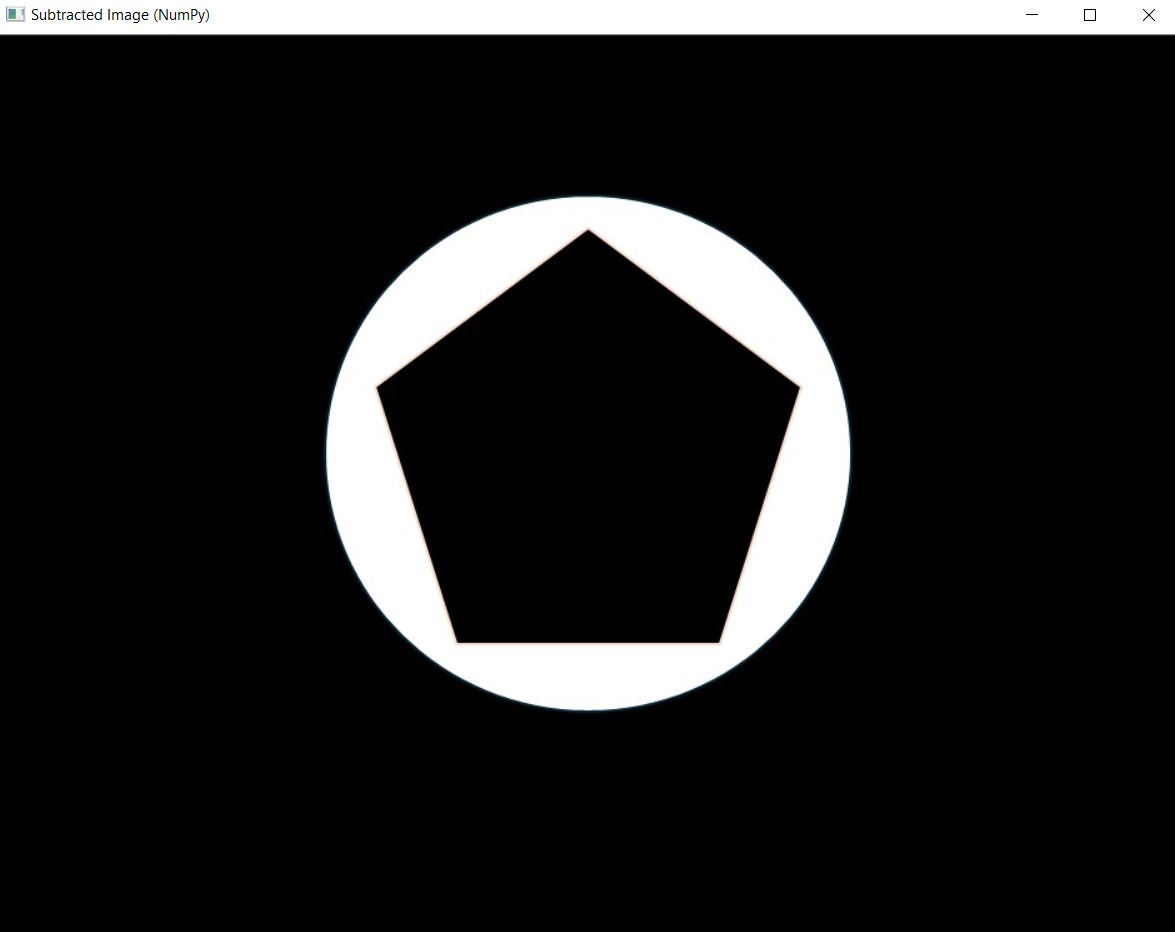
Image Subtraction with Python OpenCV
Here we we first read the two images with and then use cv2.subtract() function of the OpenCV library to subtract the 2nd image from the 1st image. Then the subtracted image is displayed as output.
import cv2

# Load the two images
image1 = cv2.imread('image1.jpg')
image2 = cv2.imread('image2.jpg')

# Perform image subtraction
subtracted_image = cv2.subtract(image2, image1)

# Display the result
cv2.imshow('Subtracted Image (OpenCV)', subtracted_image)
cv2.waitKey(0)
cv2.destroyAllWindows()
Output
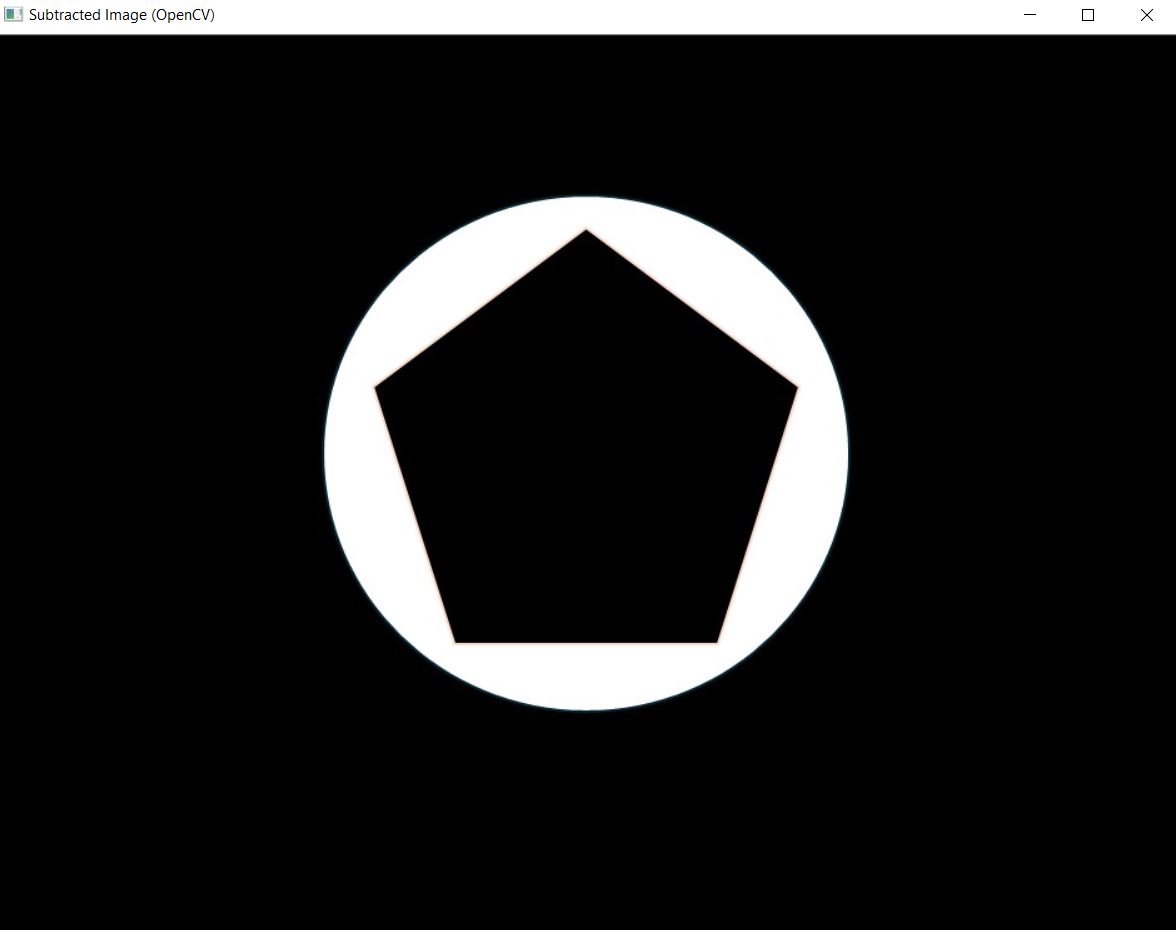
Image Subtraction with Python Pillow
In this example, the two images are opened and then use ImageChops.subtract() function of the PIL library to subtract the 2nd image from the 1st image and then show the image as output.
from PIL import Image, ImageChops

# Load the two images
image1 = Image.open('image1.jpg')
image2 = Image.open('image2.jpg')

# Perform image subtraction
subtracted_image = ImageChops.subtract(image2, image1)

# Display the result
subtracted_image.show()
Output