Introduction
Addition of images might sound weird but people forget that an image is essentially a collection of numeric pixels. So we can do pixel-wise addition of the two images resulting in a new image. In this article, we will see multiple ways we can perform the addition of images in Python by using NumPy, OpenCV, and PIL libraries.
Addition of Images
When we add two images it does pixel-wise addition where each pixel in one image is added to the corresponding pixel of the other image, resulting in a new third image.
Mathematically, when we add two images A and B the pixel-wise operations to get new image C can be done as follows –
C(x,y) = A(x,y) + B(x,y)
Where,
- A(x,y) denotes the pixel value at position (x, y) in the image A.
- B(x, y) denotes the pixel value at position (x, y) in the image B.
- C(x, y) denotes the resulting pixel value at position (x, y) in the new image C.
As you can see, for doing addition the two images A and B should be of the same size. Otherwise, resizing , cropping or padding has to be done to bring them both to the same size.
Use of Image Addition
Image addition has many uses across image processing, computer vision, and photography. Some of the common use cases are :
- Image Blending
- Overlaying Images
- Noise Addition
- Creative Effects
- Image Reconstruction
Input Image for Our Examples
We will use the two images below throughout this tutorial, to show various examples of image addition in Python. The two images are of the same sizes otherwise we will encounter errors during addition operation.
Image 1

Image 2
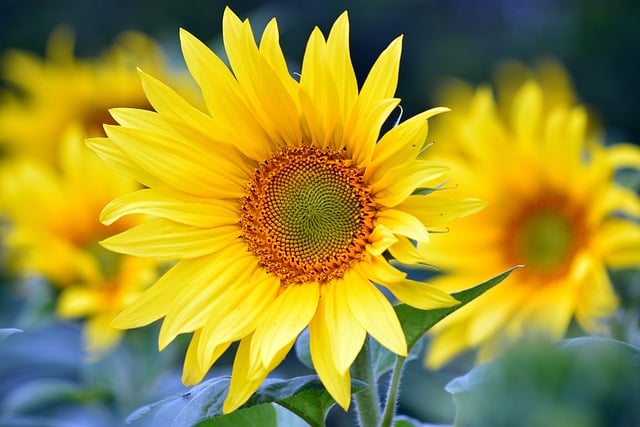
Image Addition with Python NumPy
In this example, we read both images and convert them into NumPy arrays. Next, we add the two NumPy arrays and using the np.clip() function make sure that the range of pixels after addition is limited between [0,255] only. We also use astype(np.uint8) to convert the final resultant array into uint8 which is usually used for images with 8-bit pixel values.
Finally, the resultant image after the addition operation is displayed as output.
import numpy as np
import cv2

# Read images
image1 = cv2.imread('image1.jpg')
image2 = cv2.imread('image2.jpg')

# Convert images to NumPy arrays
array1 = np.array(image1, dtype=np.uint16)
array2 = np.array(image2, dtype=np.uint16)

# Perform addition of Images
result = np.clip(array1 + array2, 0, 255).astype(np.uint8)

# Show result
cv2.imshow('Image Addition with NumPy', result)
cv2.waitKey(0)
cv2.destroyAllWindows()
Output
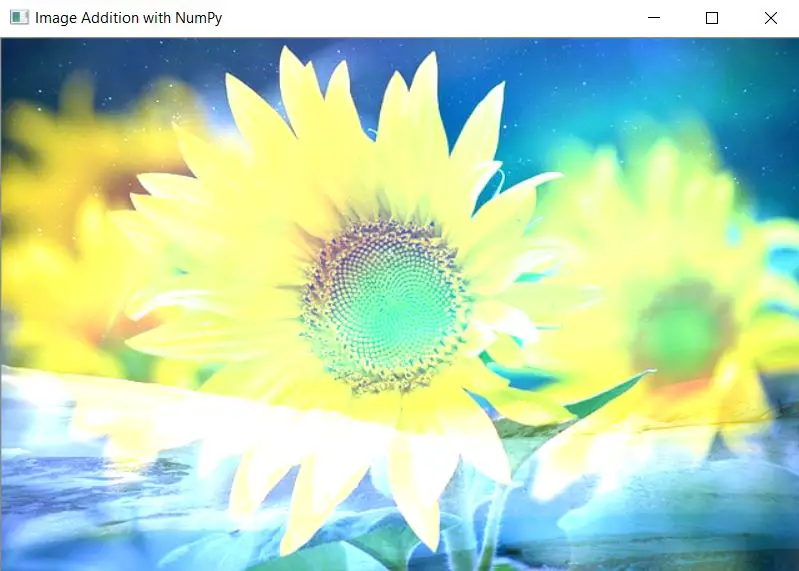
Image Addition with OpenCV cv2.add()
In this example of adding images with OpenCV, we again start with reading images. Next, we use the OpenCV cv2.add() function to pixel-wise add the two images and display the result. Notice that image addition with the cv2.add() function is quite straightforward compared to the NumPy example above, which had multiple steps.
import cv2

# Read images
image1 = cv2.imread('image1.jpg')
image2 = cv2.imread('image2.jpg')

# Perform addition of Images
result = cv2.add(image1, image2)

# Show result
cv2.imshow('Image Addition with OpenCV', result)
cv2.waitKey(0)
cv2.destroyAllWindows()
Output
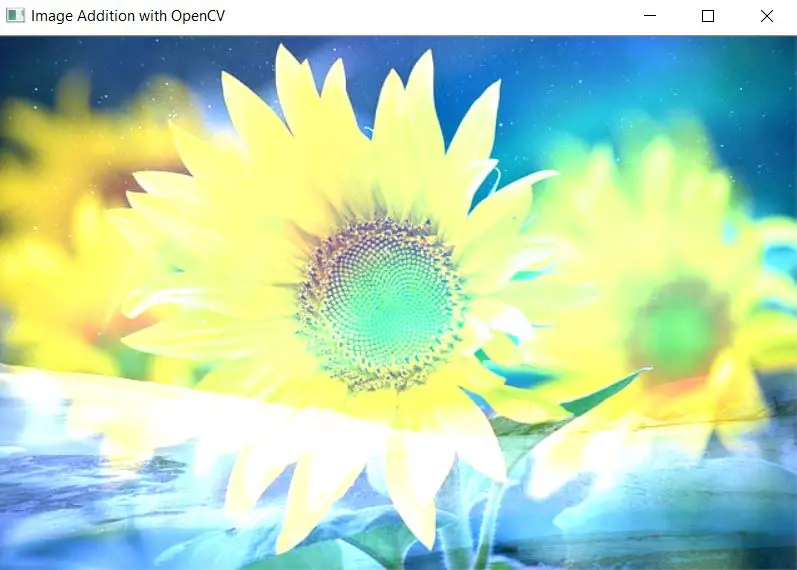
Image Addition with Pillow ImageChops.add()
In this example we use ImageChops.add() function of the PIL library for image addition. First of all we open the two images and then use ImageChops.add() to perform pixel-wise addition of the two images and finally display the results.
from PIL import Image, ImageChops

# Open images
image1 = Image.open('image1.jpg')
image2 = Image.open('image2.jpg')

# Perform pixel-wise addition
result = ImageChops.add(image1, image2)

# Display result
result.show()
Output