Introduction
In this tutorial, we will show you how to split the image into it’s multiple channels by using the OpenCV cv2.split() function and also with Numpy. We will also show you how we can merge the single channel images to generate the multi-channel image with the cv2.merge() function.
Color Spaces and Channels
The colors of images can be organized in many ways and this scheme is known as color space. For example, a popular way of representing the image is in RGB color space, where the image consists of Red, Green, and Blue. To be more specific, every pixel of the image consists of three values (R,G,B) where each of R, G, and B ranges between 0 to 255. These attributes are also referred to as channels.

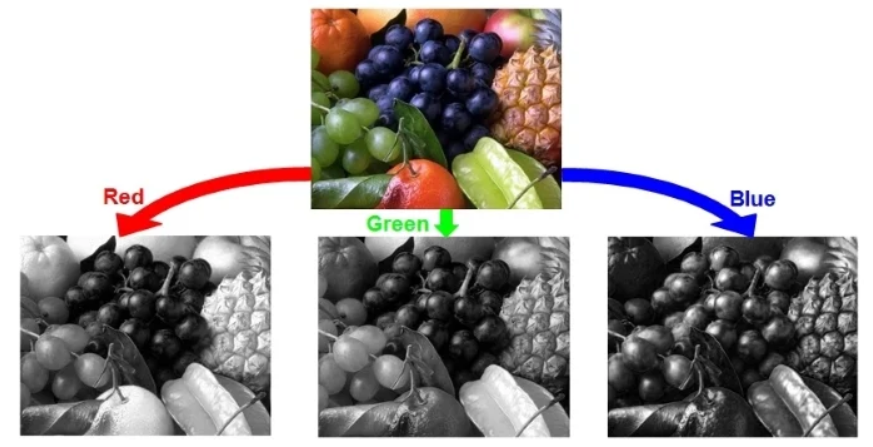
For various image processing tasks, you may be required to split the colored image into its individual channels as shown in the below image. You may find it confusing why the Red, Green, and Blue channels are appearing in grayscale individually. This is because the split image has only a single channel whose pixel value varies between 0 to 255. This actually corresponds to grayscale colorspace hence the three images appear in gray.
On the flip side of the split, you can also merge single-channel images to produce the final multi-channel image.
RGB is just one of many colorspaces that are there, some of the others are HSV, BGR, CMYK, etc. The different color spaces have their own significance depending on the type of image processing task.
OpenCV Function – cv2.split()
In OpenCV, you can easily split the image into its individual channels by using the cv2.split() function.
Syntax
The syntax of the OpenCV split function is as follows –
split(img)
- img – It is the image whose channels have to be split.
- It returns the individual channels of the image.
Split BGR Image in OpenCV
It should be noted that OpenCV reads the colored image as BGR and not in RGB mode. This means the sequence of the channel is Blue, Green, and Red. It is however possible to convert it to RGB colorspace by using the cvtColor() function of OpenCV. But to keep it simple we will use the BGR colorspace only to show you how the cv2.split() function works in OpenCV.
Load Required Libraries
Let us start by loading the python libraries that will be required for our examples.
In[0]:
import cv2
import numpy as np
Read Sample Image
Next, we read and display the sample image that will be used throughout our examples. As discussed earlier, the OpenCV reads the image in BGR mode.
In [1]:
#read image
img=cv2.imread("dog.jpg")

window_name='Dog Image'
cv2.namedWindow(window_name, cv2.WINDOW_NORMAL)
cv2.imshow(window_name,img)
cv2.waitKey(0)
cv2.destroyAllWindows()
Out[1]:

Split Image with cv2.split
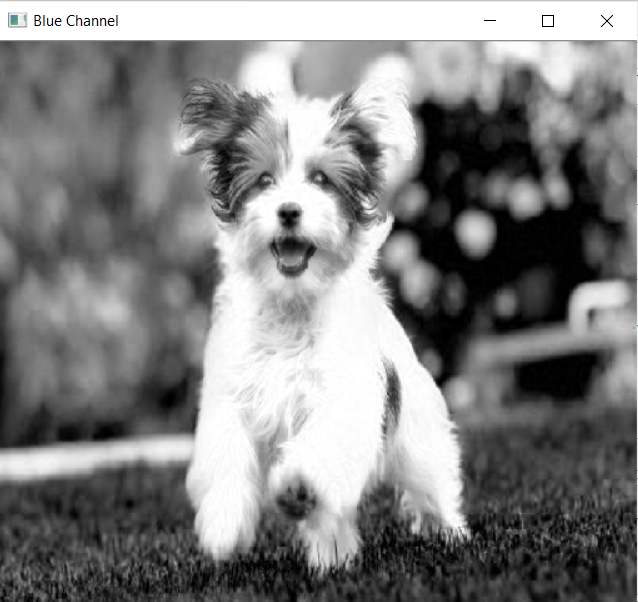
Now we pass the image to the cv2.split() function that returns its three channels captured by blue, green, and red variables respectively.
blue,green,red = cv2.split(img)
Display Blue Channel
Let us see the blue channel of the image with the below code.
In [3]:
window_name='Blue Channel'
cv2.namedWindow(window_name, cv2.WINDOW_NORMAL)
cv2.imshow(window_name,blue)
cv2.waitKey(0)
cv2.destroyAllWindows()
Out[3]:
Display Green Channel
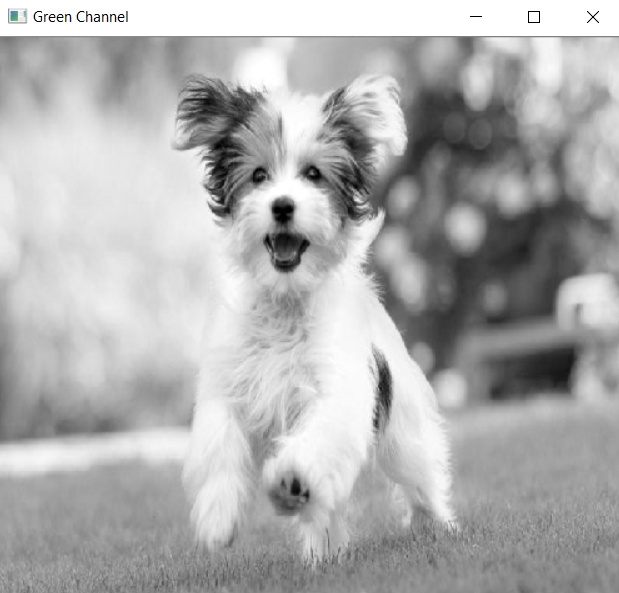
Next, let us see the green channel below.
In [4]:
window_name='Green Channel'
cv2.namedWindow(window_name, cv2.WINDOW_NORMAL)
cv2.imshow(window_name,green)
cv2.waitKey(0)
cv2.destroyAllWindows()
Out[4]:
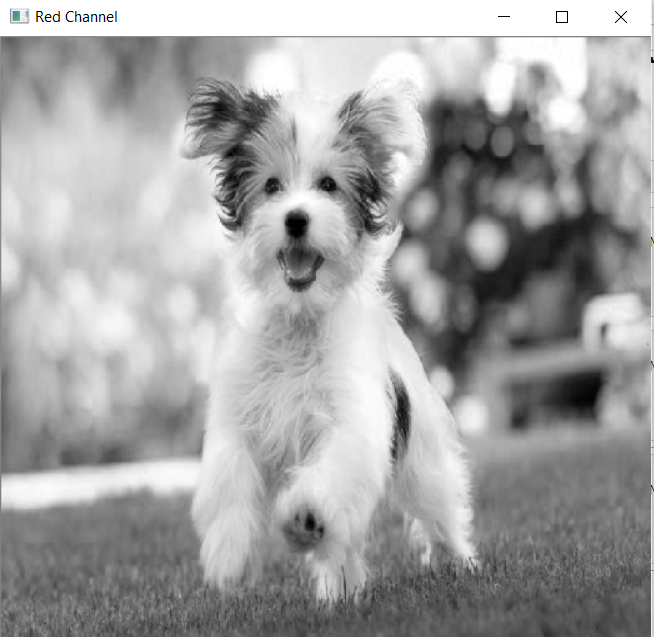
Display Red Channel
Next, let us see the red channel below.
In [5]:
window_name='Red Channel'
cv2.namedWindow(window_name, cv2.WINDOW_NORMAL)
cv2.imshow(window_name,red)
cv2.waitKey(0)
cv2.destroyAllWindows()
Out[5]:
Split HSV Image in OpenCV
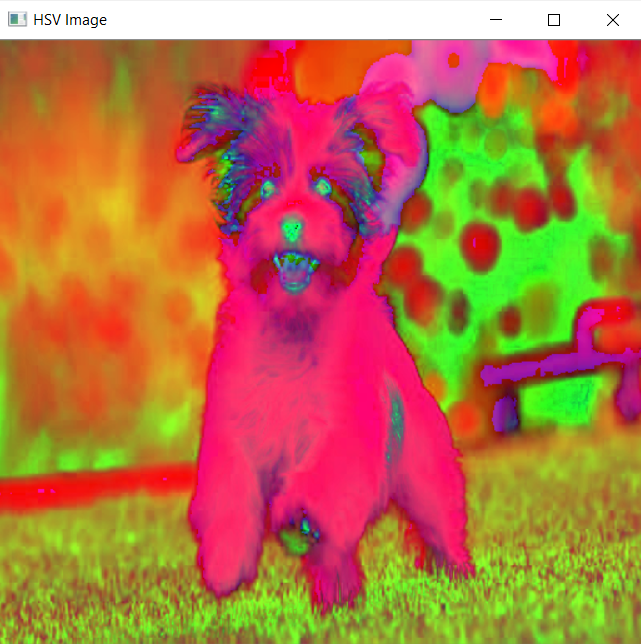
Creating HSV Image
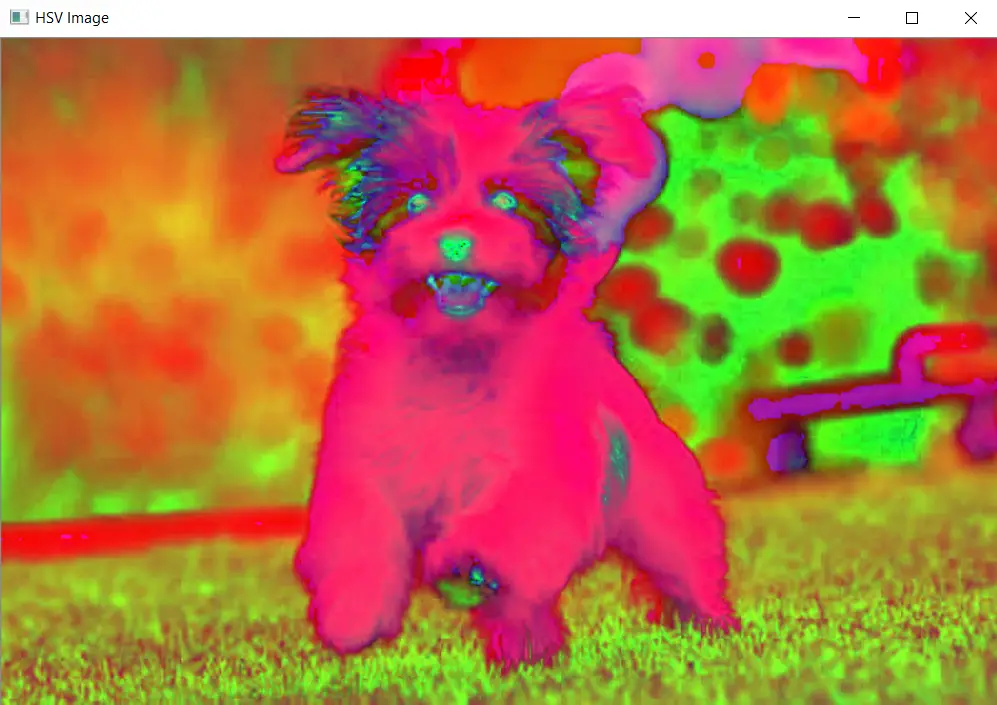
Let us convert the earlier image to HSV color space with the help of cvtColor() function. We will then split this image with the cv2 split function in this example.
In [6]:
hsv_img = cv2.cvtColor(img, cv2.COLOR_BGR2HSV)

window_name='HSV Image'
cv2.namedWindow(window_name, cv2.WINDOW_NORMAL)
cv2.imshow(window_name,hsv_img)
cv2.waitKey(0)
cv2.destroyAllWindows()
Out[6]:
Split Image with cv2.split
HSV colorspace has three channels – Hue, Saturation, and value. In the below code, the HSV image is split into its three channels.
In [7]:
h_img,s_img,v_img = cv2.split(hsv_img)
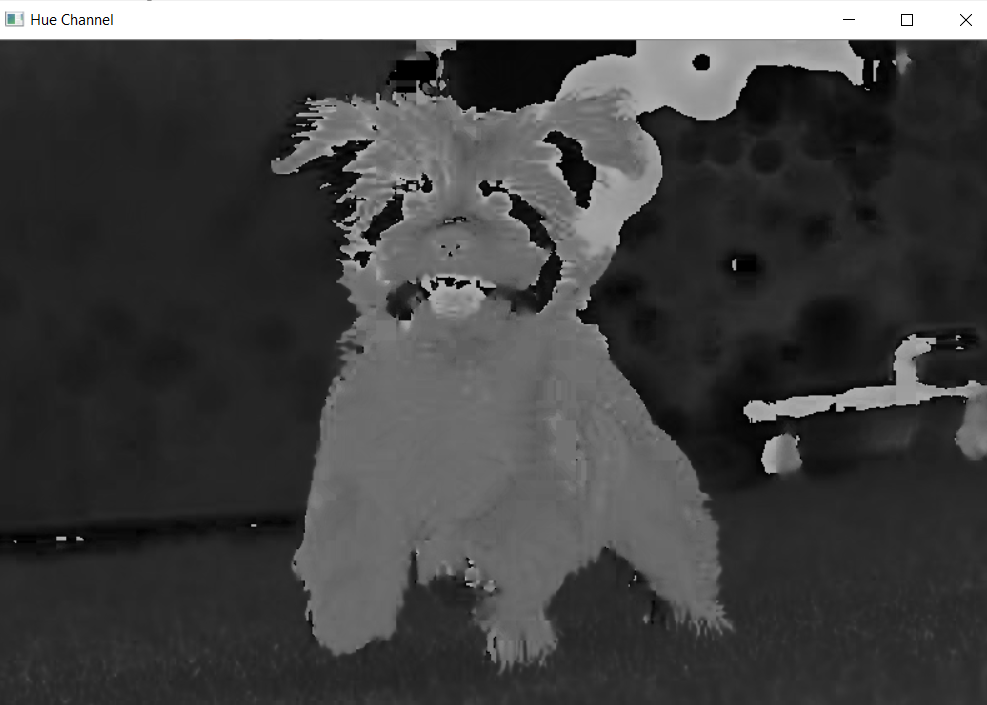
Display Hue Channel
Let us see what the Hue channel looks like.
In [8]:
window_name='Hue Channel'
cv2.imshow(window_name,h_img)
cv2.waitKey(0)
cv2.destroyAllWindows()
Out[8]:
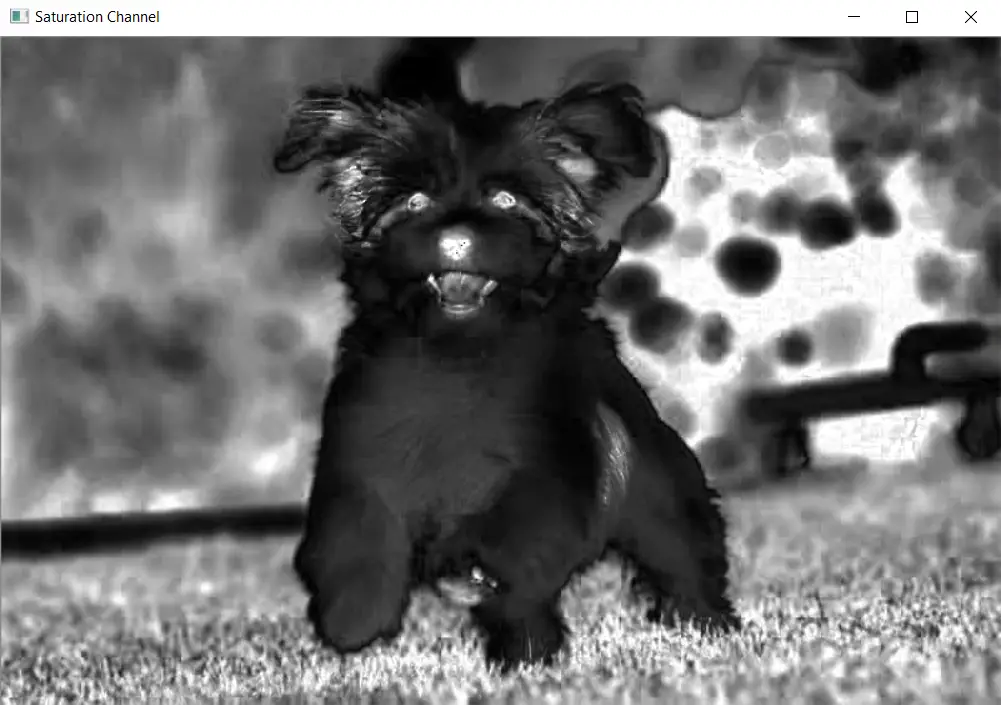
Display Saturation Channel
Next, let us see the saturation channel of the image.
In[9]:
window_name='Saturation Channel'
cv2.imshow(window_name,s_img)
cv2.waitKey(0)
cv2.destroyAllWindows()
Out[9]:
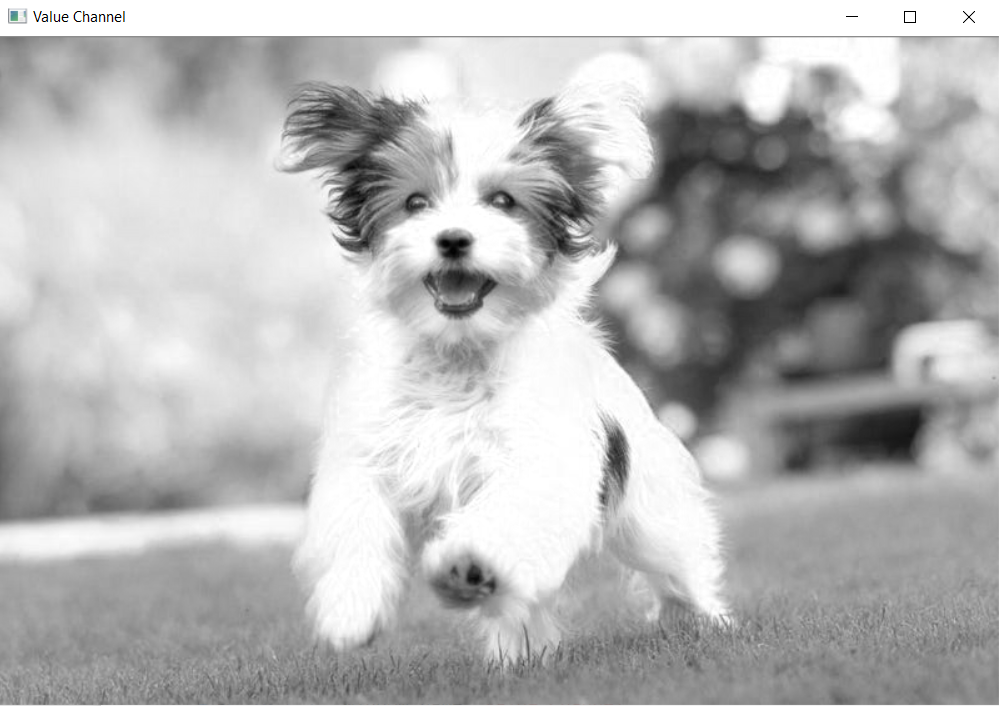
Display Value Channel
Finally, let us see the value channel of the image.
In [10]:
window_name='Value Channel'
cv2.imshow(window_name,v_img)
cv2.waitKey(0)
cv2.destroyAllWindows()
Out[10]:
Split Image in NumPy
Although the split() function of OpenCV makes it really easy to split the image into its different channels, its speed performance may not always be very efficient. In such cases, you can split the image with the help of NumPy operations with better speed.
For example, the image containing three channels B,G, and R can be split with NumPy as follows –
In [11]:
B = img[:, :, 0]
G = img[:, :, 1]
R = img[:, :, 2]
It will produce the same output that we saw with OpenCV split function for the BGR image that we saw in the first example below. Hence not repeating the same again.
OpenCV Function – cv2.merge()
In OpenCV, you can use cv2.merge() function to merge the individual single channel images to produce the final multi-channel image.
Syntax
The syntax of the OpenCV split function is as follows –
merge(img_channel1,img_channel2,… img_channeln)
- img_channel – Single channel image.
- It returns the multi-channel image.
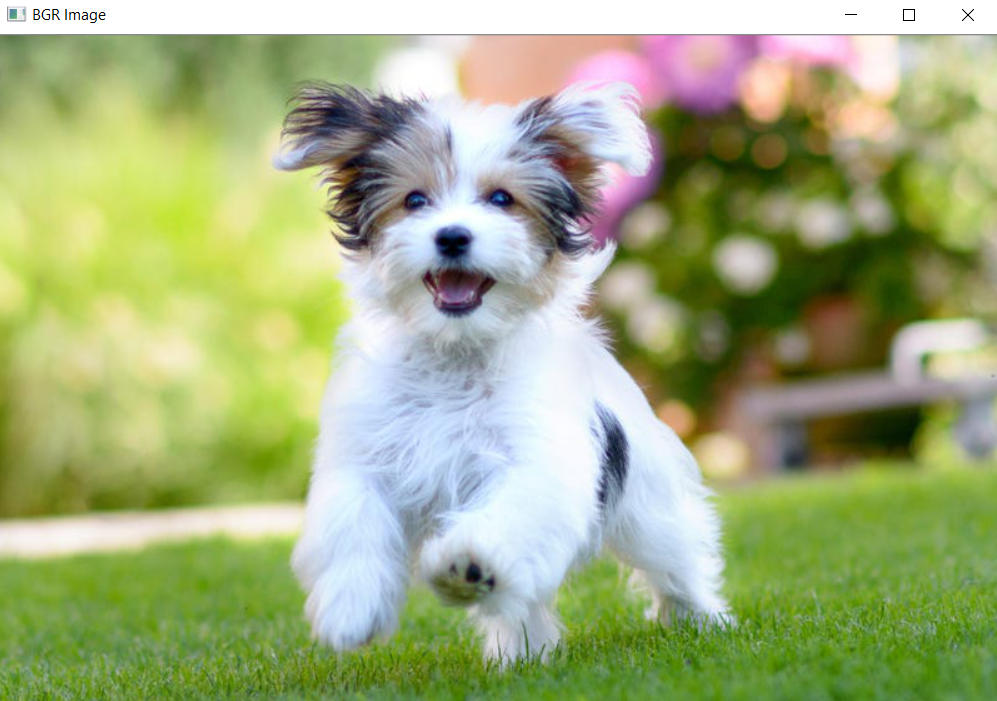
Merge Image Channels in OpenCV to BGR
Let us merge the individual single-channel image that we had split in the first example of the tutorial. It produces back the original BGR image.
In[12]:
merge_bgr_img = cv2.merge([blue,green,red]);

window_name='BGR Image'
cv2.imshow(window_name,merge_bgr_img)
cv2.waitKey(0)
cv2.destroyAllWindows()
Out[12]:
Merge Image Channels in OpenCV to HSV
Next, let us merge the individual single-channel image that we had split in the second example of this tutorial. It produces back the original HSV image.
In [13]:
merge_hsv_img = cv2.merge([h_img,s_img,v_img]);

window_name='HSV Image'
cv2.imshow(window_name,merge_hsv_img)
cv2.waitKey(0)
cv2.destroyAllWindows()
Out[13]: