
Introduction
cv2.imwrite() function of OpenCV is a very common function to save images into files. However, there are many features of the cv2 imwrite function that are not known to many people. In this article, we will give you a detailed explanation of the syntax and features of cv2.imwrite() along with examples.
Syntax of OpenCV cv2.imwrite() Function
The syntax of cv2.imwrite() is as follows –
cv2.imwrite(filename, img[, params])
Parameters
- filename – Name of the file where the image needs to be saved. The extension of the filename determines the format of the image. For example, filname.jpeg will save the image in jpeg format and filename.png will save the image in png format.
- image – The image to be saved
- params – This is optional and has parameters according to file format as explained below:
- For JPEG file format the supported parameter is cv2.IMWRITE_JPEG_QUALITY with a possible value between 0 to 100, the default value being 95. The higher value produces a better quality image file.
- For PNG file format the supported parameter is cv2.IMWRITE_PNG_COMPRESSION with a possible value between 0 to 9, the default being 3. The higher value does high compression of the image resulting in a smaller file size but a longer compression time.
- For PPM, PGM, or PBM file format the supported parameter is binary format flag cv2.IMWRITE_PXM_BINARY, with a possible value of 0 or 1. The default value is 1.
Pre-requisite for Examples
Let us go through different examples of cv2 imwrite to save an image in different file formats.
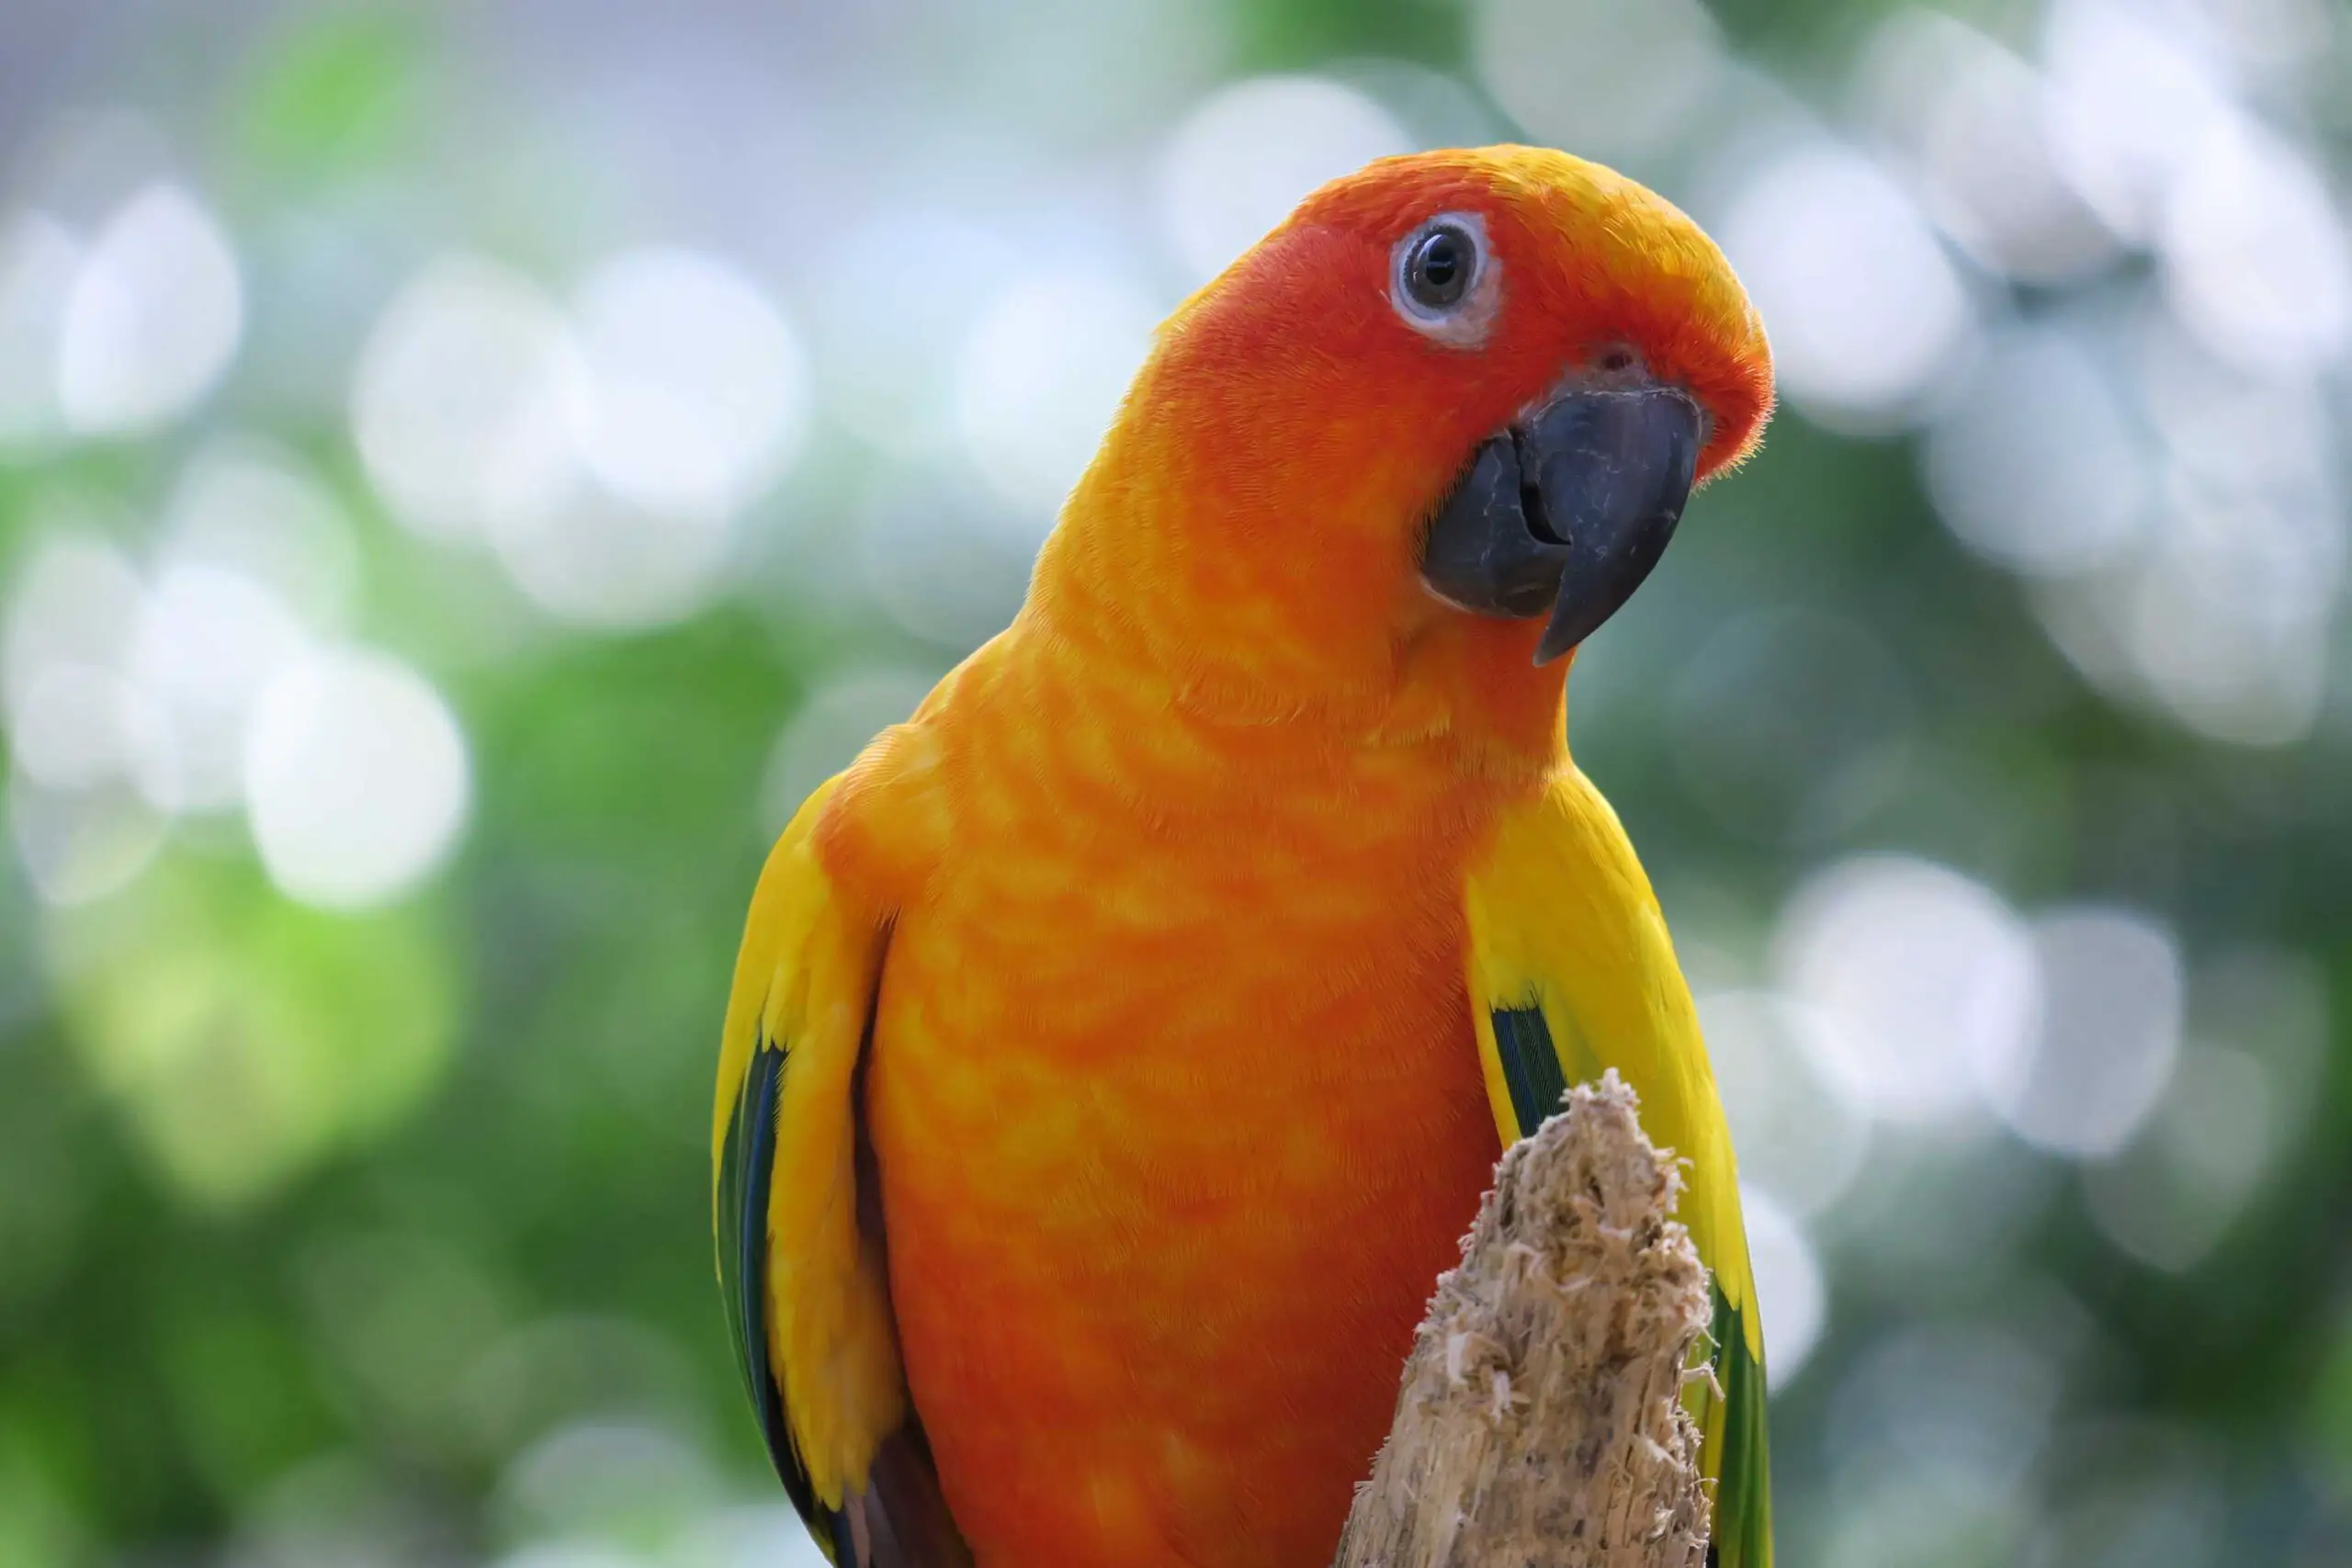
Example Image
To keep the examples simple, we will read the below image from a file and then save it again in different file formats with cv2.imwrite()
Helper Function to Print File Size
The below function will be useful to print the file size of the image, we will use it in all our examples.
In [0]:
def print_file_size(file):

File_Size = os.path.getsize(file)
File_Size_MB = round(File_Size/1024/1024,2)

print("Image File Size is " + str(File_Size_MB) + "MB" )
Read the Image
Let us read the sample image from a file and also print the file size.
In [1]:
#read image
img=cv2.imread("parrot.jpg")

print_file_size("parrot.jpg")
Out[1]:
Image File Size is 2.89MB
Saving Images in Different Files Format with cv2 imwrite
Save Image to File in JPEG Format
Let us save the image back into a jpeg file. The image is saved successfully, but did you notice that even though we read the jpeg file and then wrote the image back in jpeg but the file size has reduced from 2.89 MB to 1.2 MB?
This is because cv2.imwrite() has the ability to compress the image while writing it into the file. We will explore more on this in the subsequent sections later.
In [2]:
cv2.imwrite("parrot_saved.jpg", img)

print("Image Saved Successfully!!")

print_file_size("parrot_saved.jpg")
Out[2]:
Image Saved Successfully!!
Image File Size is 1.2MB
Save Image to File in PNG Format
Next, let us save the file in png file format. This time the file size has increased because the cv2.write function has not just created a .png file for the namesake, it has actually saved the image in png format, resulting in a higher file size than the original jpeg.
In [3]:
cv2.imwrite("parrot_saved.png", img)

print("Image Saved Successfully!!")

print_file_size("parrot_saved.png")
Out[3]:
Image Saved Successfully!!
Image File Size is 7.25MB
Save Image to File in TIFF Format
In this example, let us save the file in tiff format as shown below.
In [4]:
cv2.imwrite("parrot_saved.tiff", img)

print("Image Saved Successfully!!")

print_file_size("parrot_saved.tiff")
Out[4]:
Image Saved Successfully!!
Image File Size is 7.19MB
Save Image to File in BMP Format
In this example, we are using cv2 imwrite() function to save the example image in BMP format. We can see that the size of the output image file has increased considerably to 17.17 mb.
In [5]:
cv2.imwrite("parrot_saved.bmp", img)

print("Image Saved Successfully!!")

print_file_size("parrot_saved.bmp")
Out[5]:
Image Saved Successfully!!
Image File Size is 17.17MB
Save Image to File in Webp Format
Here we are saving the example image in Webp format by using the cv2.imwrite function.
In [6]:
cv2.imwrite("parrot_saved.webp", img)

print("Image Saved Successfully!!")

print_file_size("parrot_saved.webp")
Out[6]:
Image Saved Successfully!!
Image File Size is 4.82MB
Managing JPEG Image Quality in cv2 imwrite
With cv2.imwrite() the image quality can be controlled with cv2.IMWRITE_JPEG_QUALITY parameter and its value. The value can be between 0 to 100, where 100 produces the highest quality and 0 produces the lowest quality.
By default, cv2.imwrite() assumes the value of cv2.IMWRITE_JPEG_QUALITY as 95. This is why the file size of the jpeg image had reduced in our first example above because it lowered the image quality.
Let us save the same image in JPEG format by explicitly mentioning the cv2.IMWRITE_JPEG_QUALITY parameter value as 100. This time it can be seen that the file size is now the same as the original image file.
In [7]:
cv2.imwrite("parrot_saved.jpg", img, [cv2.IMWRITE_JPEG_QUALITY, 100])

print("Image Saved Successfully!!")

print_file_size("parrot_saved.jpg")
Out[7]:
Image Saved Successfully!!
Image File Size is 2.89MB
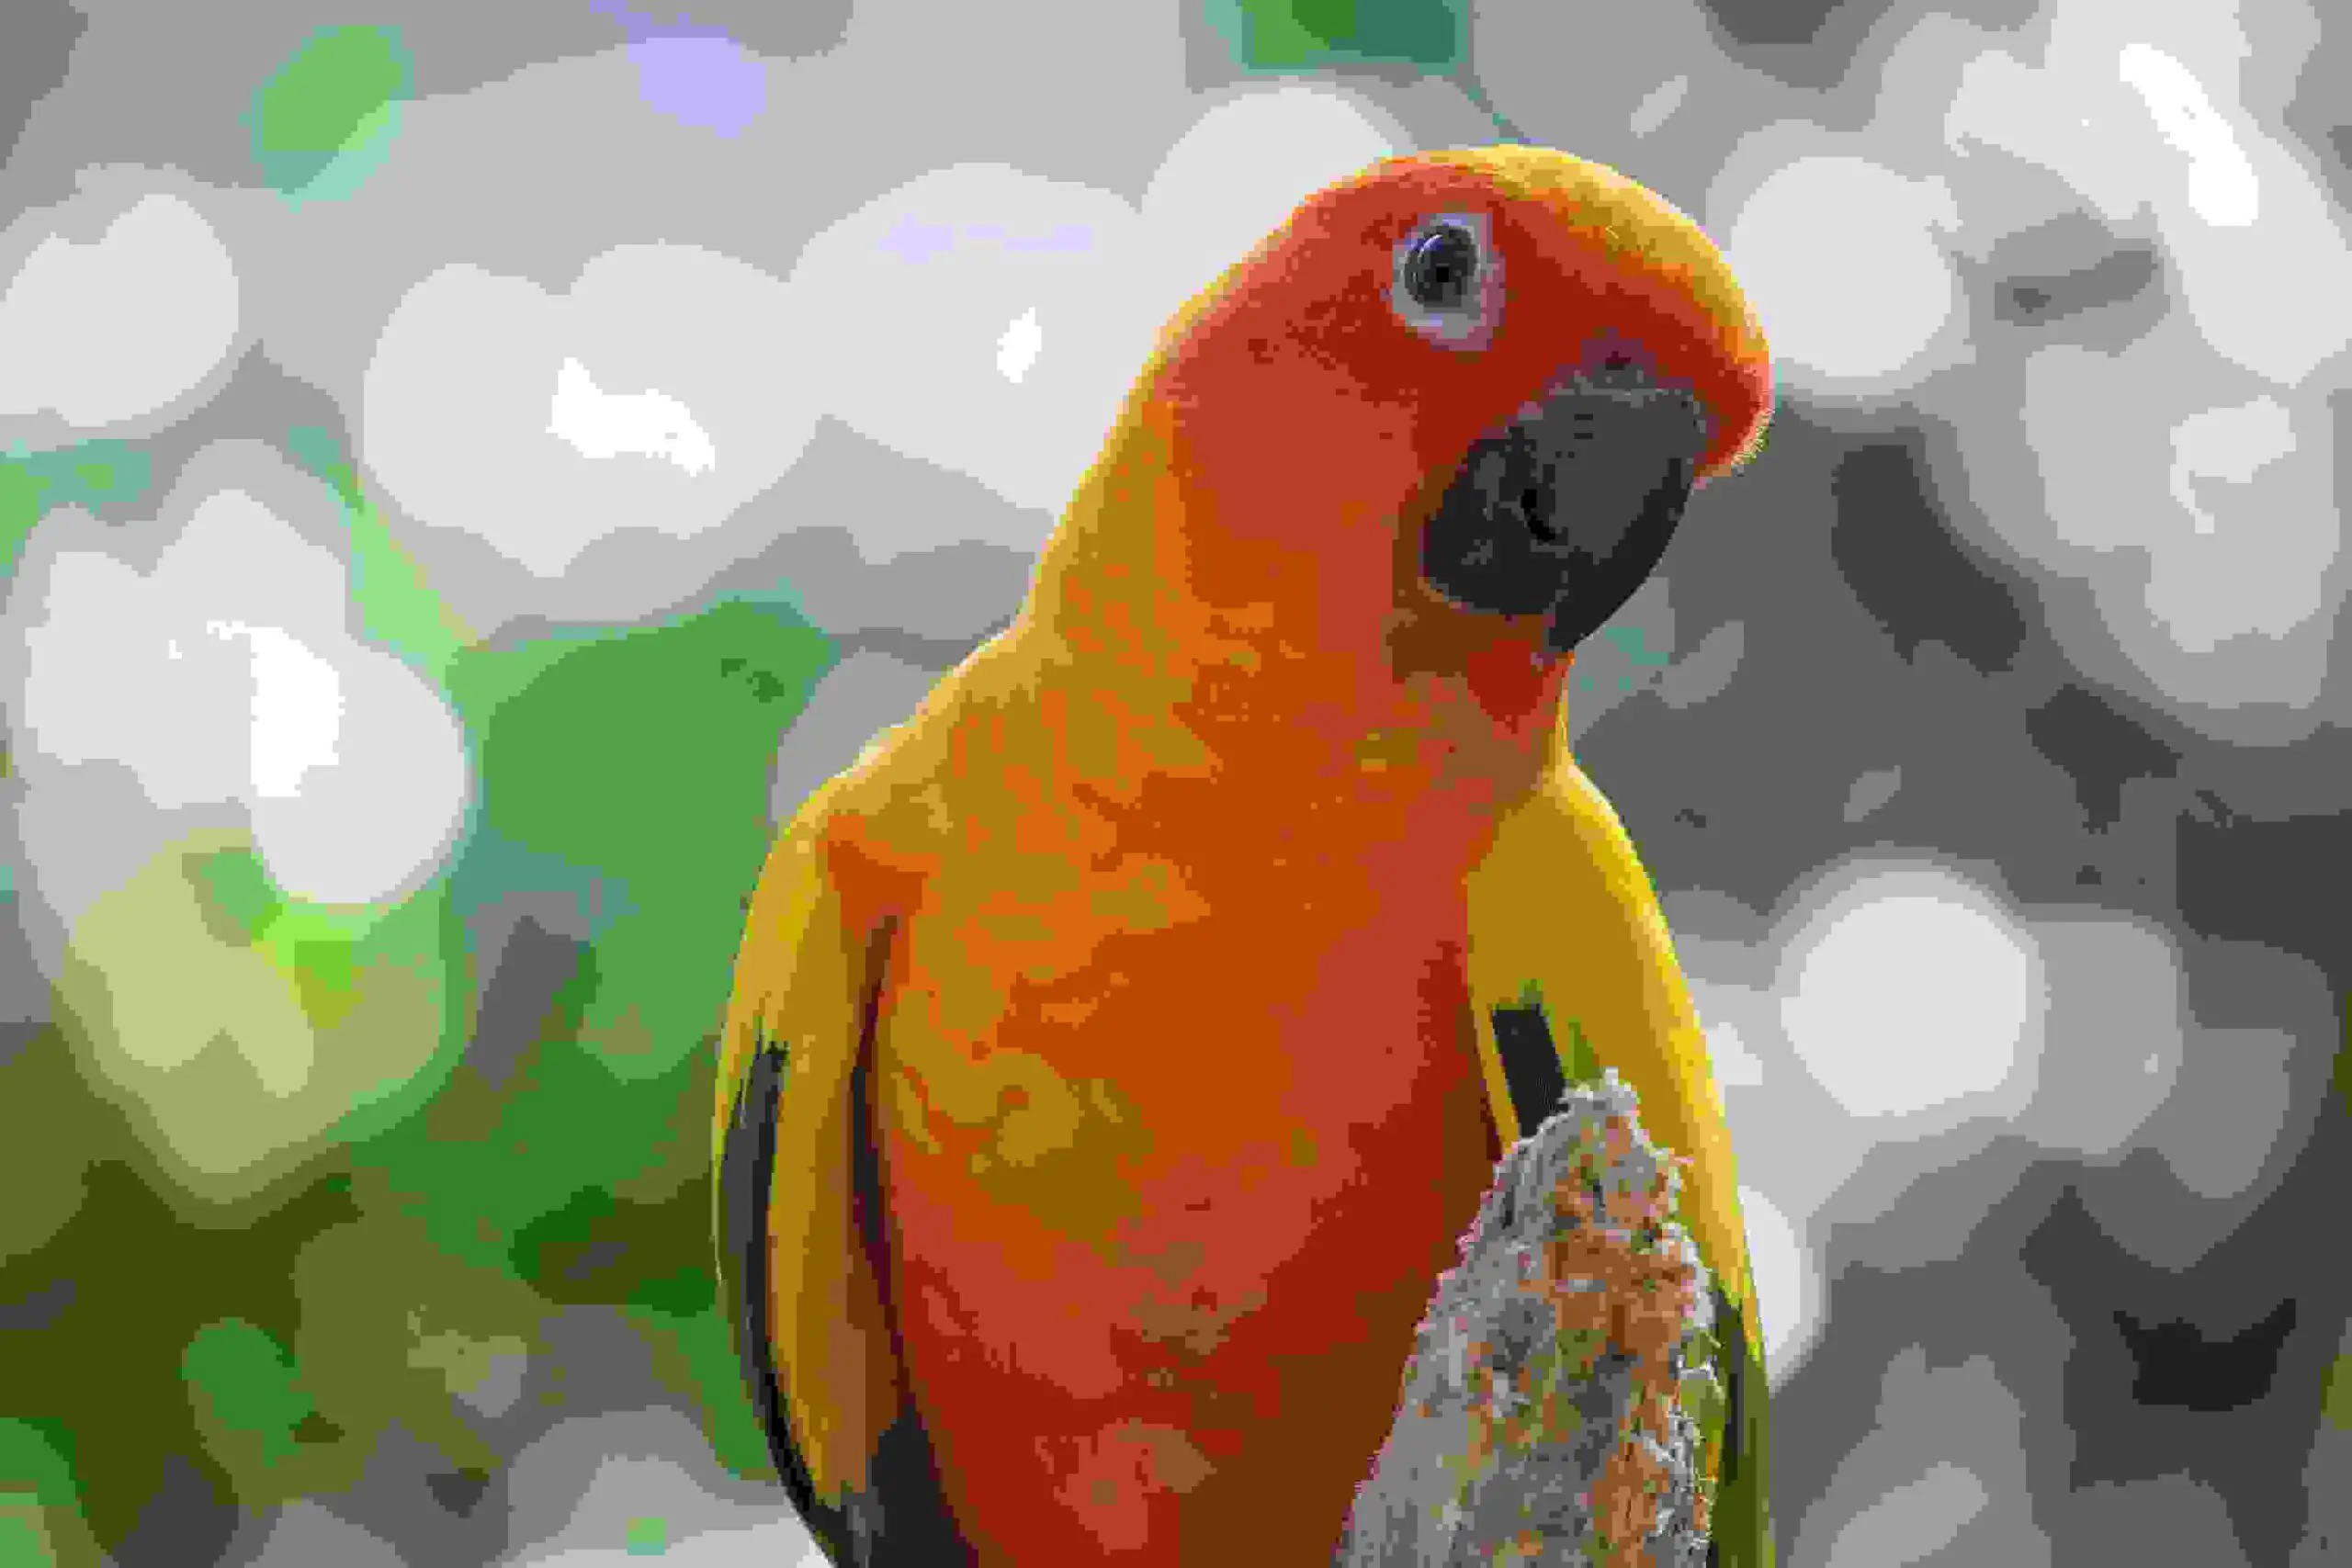
Just for fun let us pass the cv2.IMWRITE_JPEG_QUALITY value as 0 i.e. with the lowest quality.
As you can see in the output the image quality is visibly very low.
In [8]:
cv2.imwrite("parrot_saved.jpg", img, [cv2.IMWRITE_JPEG_QUALITY, 0])

print("Image Saved Successfully!!")

print_file_size("parrot_saved.jpg")
Out[8]:
Image Saved Successfully!!
Image File Size is 0.09MB
Image in the Output file:
Managing PNG Image Compression in cv2 imwrite
With cv2.imwrite() the image compression of the png image can be controlled with cv2.IMWRITE_PNG_COMPRESSION parameter and its value. The value can be between 0 to 9, where 9 produces the highest compression with more time to save images into the file. The default value is 3.
Let us explicitly pass the value of cv2.IMWRITE_PNG_COMPRESSION as 0, i.e. no compression. The resulting file size is 17.2 MB
In [9]:
cv2.imwrite("parrot_saved.png", img, [int(cv2.IMWRITE_PNG_COMPRESSION),0])

print("Image Saved Successfully!!")

print_file_size("parrot_saved.png")
Out[9]:
Image Saved Successfully!!
Image File Size is 17.2MB
Next, let us save the image in png with the highest compression by passing the value of cv2.IMWRITE_PNG_COMPRESSION as 9. The resulting compression has produced the file size of 6.33MB
In [10]:
cv2.imwrite("parrot_saved.png", img, [int(cv2.IMWRITE_PNG_COMPRESSION),9])

print("Image Saved Successfully!!")

print_file_size("parrot_saved.png")
Out[10]:
Image Saved Successfully!!
Image File Size is 6.33MB
Summary
To summarize, OpenCV cv2 imwrite function can be used for the following use cases –
- To write the image in numpy.ndarray format into a physical file.
- The extension of the file determines in which format the file will be saved. Hence cv2 imwrite can also be used to convert images from one format to another.
- It is also possible to control the jpeg image quality and png image compression with cv2.imwrite function.
Also Read – Tips and Tricks of OpenCV cv2.imread() That You Did Not Know
Reference: OpenCV Documentation


2 Responses
Awesome tutorial! Your tips & tricks helped me compress my image data sufficiently to complete my project. Thank you!
Great, that this tutorial helped you. Thanks!