Introduction
In this article, we’ll go through how to use the cv2.line() function in OpenCV Python to draw lines. You might need to use OpenCV to draw lines to mark an object in an image or for other creative uses. We’ll go over the cv2.line() syntax with some examples to help beginners grasp it better.
Line in OpenCV Python : cv2.line()
Using the cv2.line() method in OpenCV Python, we can easily create a line. Let’s take a look at the syntax for this function —
cv2.line(img, pt1, pt2,color,thickness,shift)
Syntax
- img – Image om which line has to be drawn
- pt1 -Starting point of the line
- pt2 – End point of the line
- color – Color of the line
- thickness – Line thickness
- lineType – Type of the line
- shift – No. of fractional bits of point coordinates
This function draws the line in place on the original image, meaning that the line is permanently drawn on the image.
Examples of cv2.line() in Python OpenCV
Import Required Libraries
Let’s get started with the examples by importing the necessary libraries, as shown below.
In [1]:
import cv2
import numpy as np
import matplotlib.pyplot as plt

%matplotlib inline
Utility Function to Create Empty Image
We’ll write a utility function that generates an empty 512×512 image with three color channels on which we’ll draw lines as examples.
In [2]:
def generate_empty_image():

    return np.ones(shape=(512,512,3), dtype=np.int16)
Let us check this function by calling it below. This will be acting as a canvas on which we can draw lines using the cv2 lines function.
In [3]:
sample_img = generate_empty_image()
plt.imshow(sample_img)
Out[3]:
Example – 1: Draw Simple Line with cv2.line()
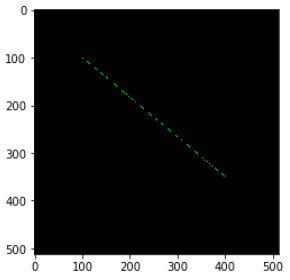
In the first example, we will draw a simple line by using just the mandatory parameters of the cv2 line() function.
Here we have passed the starting and end coordinates of the line (pt1 and pt2 respectively) along with the color parameter as green (0,255,0).
It can be seen that the line in the output is very thin and barely visible. This is because we have not passed the thickness value and by default, it is taken as 1 which results in a very thin line.
In [4]:
image1 = generate_empty_image()

pt1 = (100, 100)
pt2 = (400, 350)
color = (0, 255, 0)

cv2.line(image1, pt1, pt2,color)

plt.imshow(image1)
Out[4]:
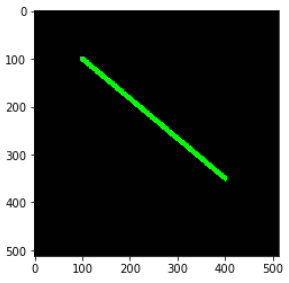
Example – 2: Draw Line with Thickness with cv2.line()
Let us now extend the above example and include the thickness parameter in cv2 line() function. It can be seen that the line is thick and clearly visible now.
In [5]:
image2 = generate_empty_image()

pt1 = (100, 100)
pt2 = (400, 350)
color = (0, 255, 0)

thickness=10

cv2.line(image2, pt1, pt2,color,thickness)

plt.imshow(image2)
Out[5]:
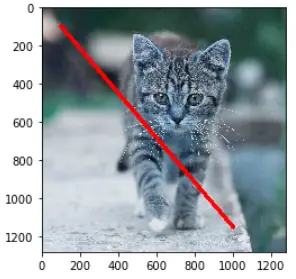
Example – 3 : Draw Line on Image with cv2.line()
In this example, we will draw a line on a cat image in red color. We have manually calculated the start and endpoints to put the line across the image.
In [6]:
image3 = cv2.imread('cat.jpg')

pt1 = (100, 100)
pt2 = (1000, 1150)
color = (255, 0, 0)

thickness=20

cv2.line(image3, pt1, pt2,color,thickness)

plt.imshow(image3)
Out[6]:
Conclusion
I hope you found this short OpenCV line drawing tutorial useful. We went over the syntax of the cv2 line() function, as well as a few examples, to help beginners grasp it better.
Reference – OpenCV documentation