
Introduction
Nowadays it is not very uncommon to see enthusiasts create ML models that can do really cool things. However, they still struggle to build a machine learning web application so that it can be interacted with by other people over the internet. In this tutorial, we will give you a step by step guide on how to build a Machine Learning Web App with Streamlit and Python. We will then deploy this Web App on the Heroku platform so that it can be accessed by anyone on the internet.
Before going into details, let us understand what is Streamlit and Heroku for absolute beginners.
What is Streamlit

Creating any web application is not an easy task and requires knowledge of various technologies like HTML, CSS, and Javascript. However, not all ML enthusiasts have experience or knowledge in the frontend frameworks.
Streamlit is a frontend framework especially for data scientists to build machine learning web apps in a short time in Python without any frontend experience. You can easily add some cool widgets into your web application without extensive coding. These web apps can be shared with other people on the platform or hosted on the internet.
Due to its ease of use, in this tutorial, we will build machine learning web application with Streamlit.
What is Heroku

Heroku is a cloud platform as a service (PaaS) where you can host your applications written in various languages like Java, Python, Scala, Node.js, etc. Once hosted, the application can be accessed on the internet by using their domain name in their free plan. If you go with their paid plan you can also give a custom domain name to your machine learning web application to give it a more professional look.
In this tutorial, we will deploy our Streamlit application on Heroku using their free plan and their domain.
Overview of Our Machine Learning Web Application
We will first build a simple machine learning web app with streamlit and python for detecting faces in the images uploaded by the user. We will then deploy this face detection application on Heroku. This is how our web application will look like.
i) Any user can upload the image of a face on the app on the home page and click on the Process button.
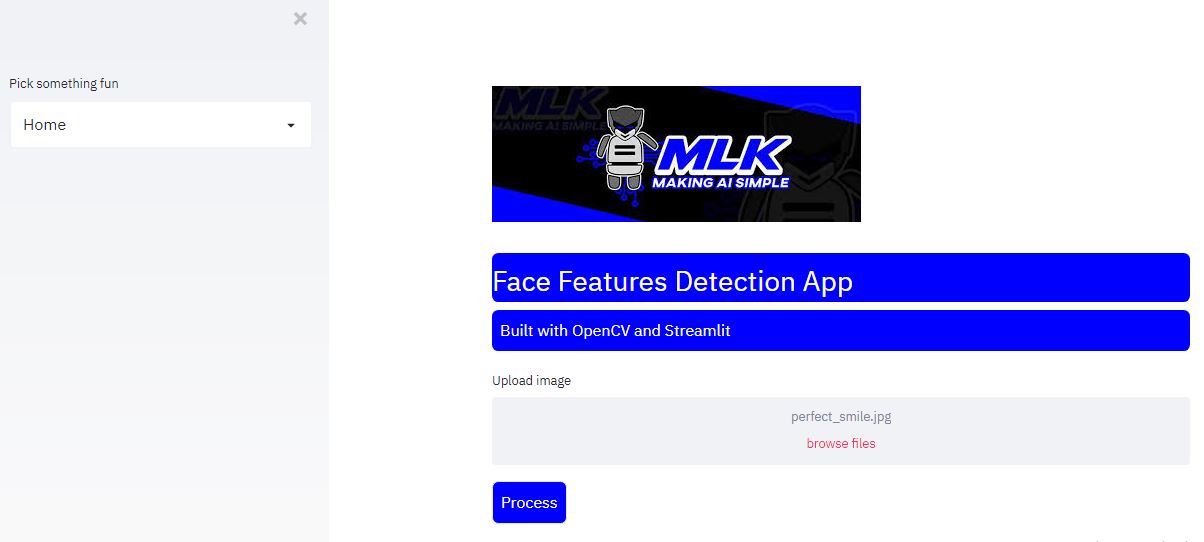
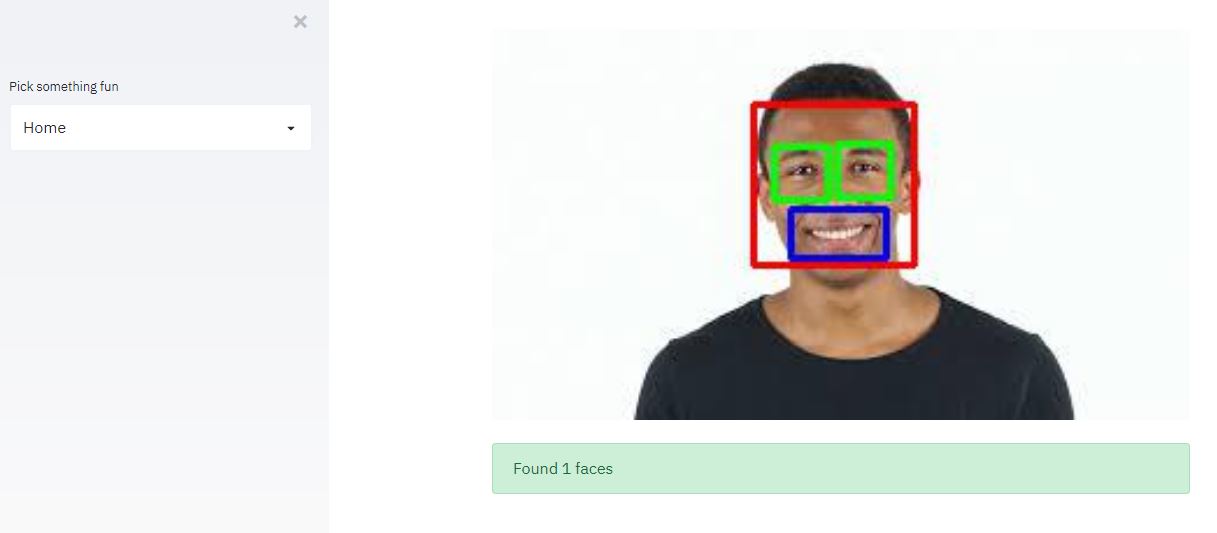
ii) The machine learning model detects the face, smile and eyes and shows the output.
You may check our live web application at the below link –
https://face-detection-mlk.herokuapp.com/
We will divide the article into two distinct parts. In the first part, we will understand how to build the machine learning web app with Streamlit and Python. In the 2nd part, we will show you how to deploy this machine learning web app on Heroku.
Building Machine Learning Web App with Stream and Python
1. Import Libraries
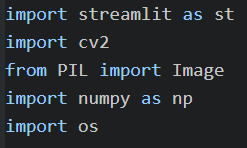
First of all, we will be importing the necessary libraries. For the purpose of the web application, streamlit is imported as st. As we are going to perform face detection through the OpenCV library, we have to import the cv2 library. Along with this, the numpy library is imported for performing mathematical operations and also the os library for other relevant operations.
2. Load Pretrained Face Detection Model
Here in this practical implementation, we will use pre-trained haarcascade models for detecting faces, eyes, and smiles in an image. The models are loaded through the OpenCV library.

3. Custom Function for loading CSS file
The following function is built for fetching the CSS file, through this file we can make desired CSS changes to the appearance of the web page.
To read the contents of the file markdown function of Streamit is used. This can sometimes cause an error and for this reason, we have passed the unsafe_allow_html parameter as True.

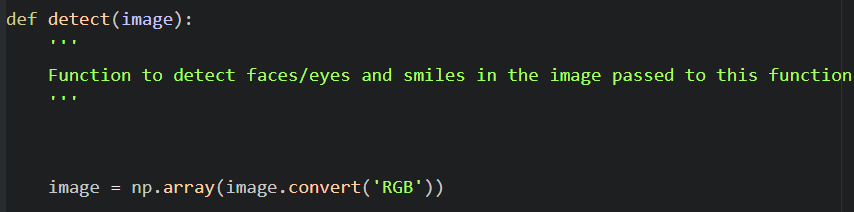
4. Declaring Function for Detecting Face
Now we will declare detect function that will help in detecting faces, smiles, and eyes on any given picture uploaded by the user. The uploaded image is first of all converted into an array of numbers for further processing. The subsequent section from 5 to 8 discuss the code written inside this detect function.
5. Detection of Faces and Other Features
The face_cascade classifier returns the coordinates of the area in which the face might be present in the image. Even other features like eyes and smiles will also be present in the area returned by this classifier.

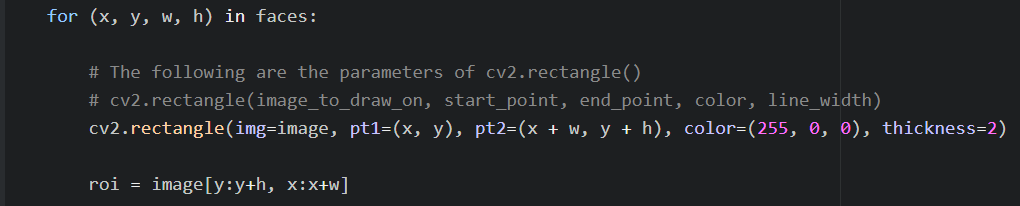
6. Drawing Bound Box on Faces
Here we will be creating bound box rectangles around the coordinates that are obtained above. This will help us in visualizing the region which is identified as face, eyes, and smiles.
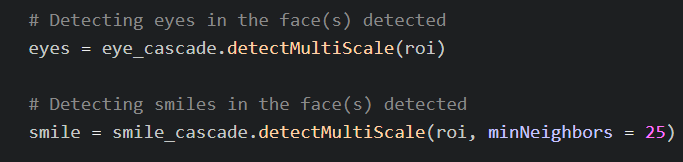
7. Detecting Eyes and Smile
The below code snippet is using the eye_cascase and smile_cascade classifier for identifying eyes and smiles in the region of interest obtained from earlier code.
8. Drawing Bound Box on Eyes and Smile
To draw the rectangles around the identified region of eyes and smiles, we are using the following code.

9. Designing the Web App
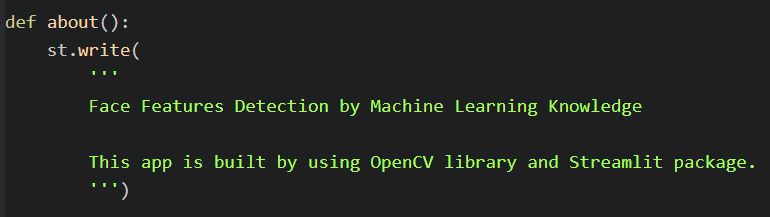
Now we have completed the part through which the detection of features will take place. With the following code, we will be adding an About Section of our web application.
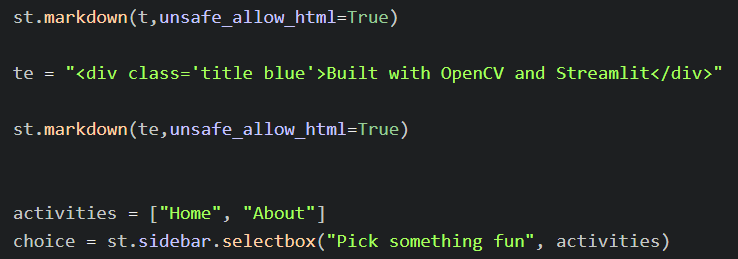
In this main function, we are calling the local_css() function for fetching the CSS file that will be used for styling the application. We can also place a logo or images in our web application through the image function of Streamlit. As we can see, HTML tags can also be used with the markdown() function of Streamlit.
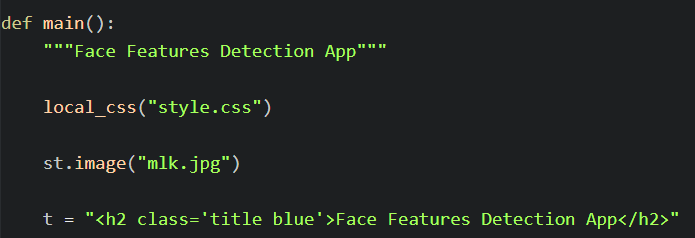
We have also created a sidebar that consists of a selectbox. This widget will allow the users to choose either the Home or About option.
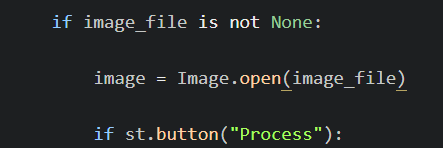
Once the Home option is chosen, the user will be given the option of uploading images of different extensions by using the file_uploader() function.

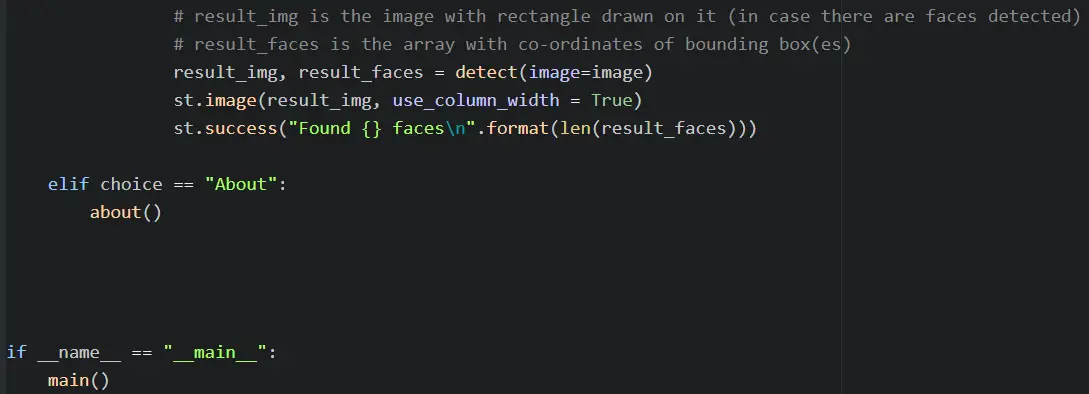
Once a check is done if the image is uploaded or not, then the image is opened. As the process button is pressed, we get the result where an image is displayed in which faces, eyes, and smiles are visible.
At last, there is the code through which the main() function is initialized.
Congratulation! You have now build a Machine Learning Web App with Streamlit and Python. You should be able to play around with the application on Streamlit. Let us now see how we can deploy our machine learning web application on Heroku
Deploying Machine Learning Web App on Heroku
In this second half, we will look at the steps that must be followed for deploying an application to Heroku. One must follow the steps given below for successfully deploying the application.
1. Downloading and Installing the Heroku CLI
Heroku has a user interface for uploading the files and deploying the project but the preferred method is through Heroku CLI (Command Line Interface). We can download the Heroku CLI from this here.
Once downloaded, the installation of the Heroku CLI should be done. To verify if the installation has been done or not, you can open the command prompt and type the following command.
-> heroku –version
The output should be as shown below.

But if the output says that “heroku is not recognized as an internal or external command, operable program or batch file.”, then you have to perform an extra step for using Heroku CLI.
This error generally occurs when the path of the application is unknown. To rectify this error, you should open the folder where Heroku is installed, then from the client folder, you have to reach the bin folder. You have to copy the location of the windows command prompt and then this should be pasted to the PATH variable.
NOTE: Remember to put a semicolon(;) at the end of the location when pasted in the PATH variable.
2. Downloading and Installing Git Bash
We will also require Git Bash for accessing the Github account. The Git Bash can be downloaded from here. After downloading the Git Bash, we can install it in the desired location. Again we can follow the same process of checking f the installation for Git Bash is done properly by checking the version.
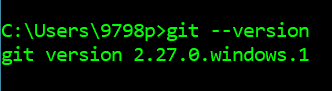
-> git –version
We should get the following as the output.
If there is an error then we’ll need to set the PATH variables for Git Bash. In the Git folder, we have to copy the paths of the bin and cmd folder. These paths have to be pasted in the PATH variable of the local computer.
NOTE: Remember to put a semicolon(;) at the end of each location when pasted in the PATH variable.
3. Create a GitHub Repository
Now a Github Repository has to be created on your Github account. This repository will help in loading the files to Heroku in a seamless manner. We will keep it empty for time being and load our project files in the subsequent steps.
4. Create Requirement.txt file
This file basically stores the dependencies (libraries) that must be downloaded by Heroku for running our application. For this application, we require two dependencies that are mentioned as follows:
- streamlit
- opencv-contrib-python-headless – This is for loading the OpenCV library
5. Create Setup.sh file
This file is where we can write our credentials,config as well as create a folder for streamlit.
The content of this file is as follows:
mkdir -p ~/.streamlit/
echo “\
[server]\n\
headless = true\n\
port = $PORT\n\
enableCORS = false\n\
\n\
” > ~/.streamlit/config.toml
For making this file you can copy-paste the above mentioned text in a notepad file and then save it with .sh extension.
6. Create Procfile
This file is required by heroku for knowing the configurations. It contains the information about how and in what way the app has to be executed on the Heroku.
The content of this file is as follows:
web: sh setup.sh && streamlit run <your_app_name>.py
For creating this file, you can open a notepad file and then copy-paste the above mentioned command. Remember to change the name of the application. Since this file should not have any kind of extension, therefore to save this file you must enter the name as “Procfile” (Remember to add these inverted commas in the name of the file and don’t save it as .txt file)
7. Cloning the Github Repository to Local System
It’s time to clone the Github repository that we had created into our local system (Remember this repository is still not containing our project files). For this open the command prompt and then type the following command by passing GitHub repository url.
-> git clone “<Github Repo URL>”
The output of this command will be as shown below.

After cloning, change your directory to that folder where cloning is done.

8. Log in to Heroku Account
Now we have to login into our Heroku account. For this, we have to type the following command in the cmd.
-> heroku login

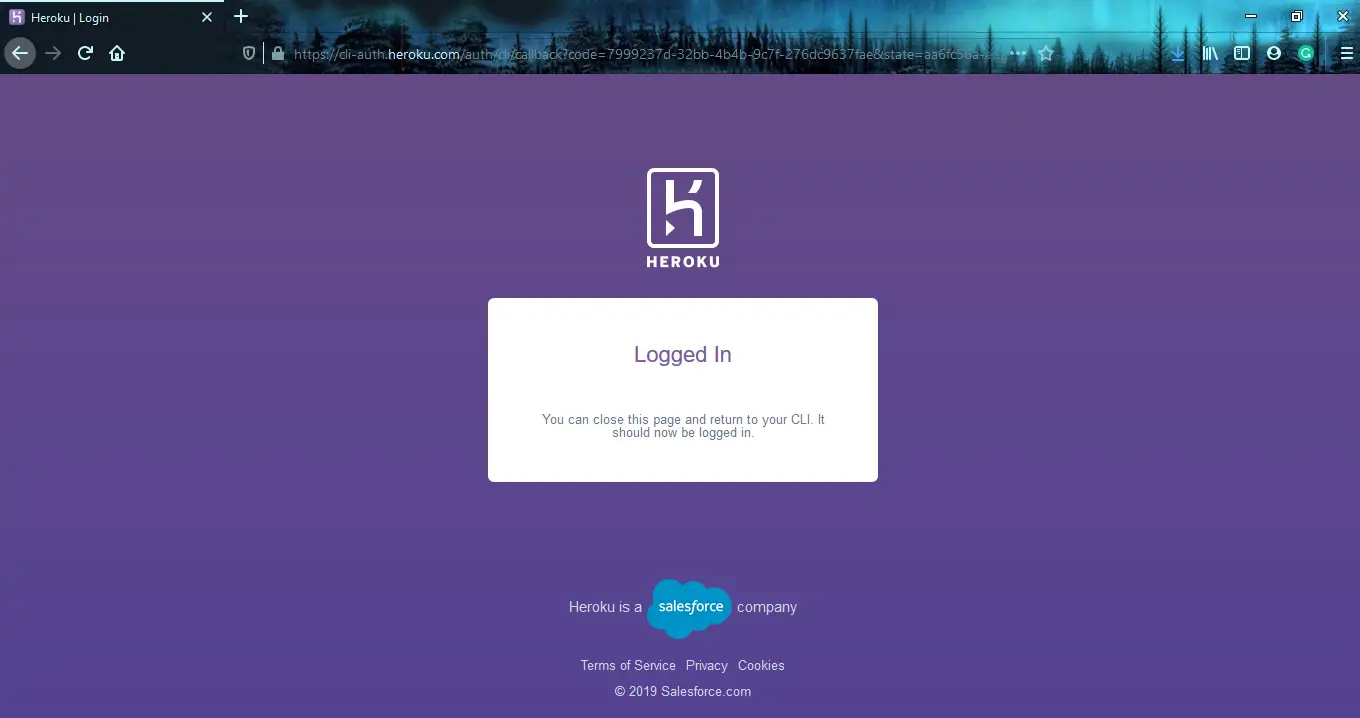
You’ll be transferred to your browser where you’ll see a screen as shown below.

As we’ll press the Login button, we’ll see a screen as shown below. This simply means that we have logged in to our Heroku account by using the Heroku CLI. Now we have to move back to the Heroku CLI.
We will see the following message at the command prompt after we have logged in to the Heroku account.

9. Create Heroku App
For creating the app, we will use the following command. We can specify the name of the app that we want, if not specified then Heroku will give a name on its own.
-> heroku create <unique_desired_app_name>

Output after this command will be as shown below. It also shows the link on which the app is hosted.

10. Loading files to Github Repo and Deploying the app
Now we are going to upload project files into the GitHub repository. Before loading the files, remember to add all the files in the folder in which we are working. After this, we have to use the following command for adding all the files.
-> github add

This will not have any specific output, if no error appears after executing it then we can move onto the next step.
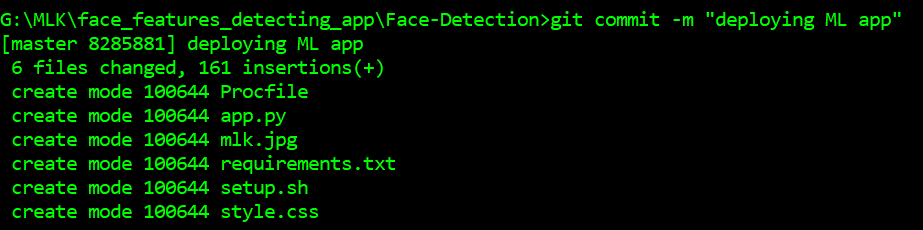
The next step is to commit the operation by using the following command. You can give whatever message you want to give between the double inverted commas. We can see the output of this command.
-> github commit -m “deploying ML app”
The last command that will complete the process is mentioned below. This will help us in pushing our files to the heroku by using our Github repo.
-> github push heroku master
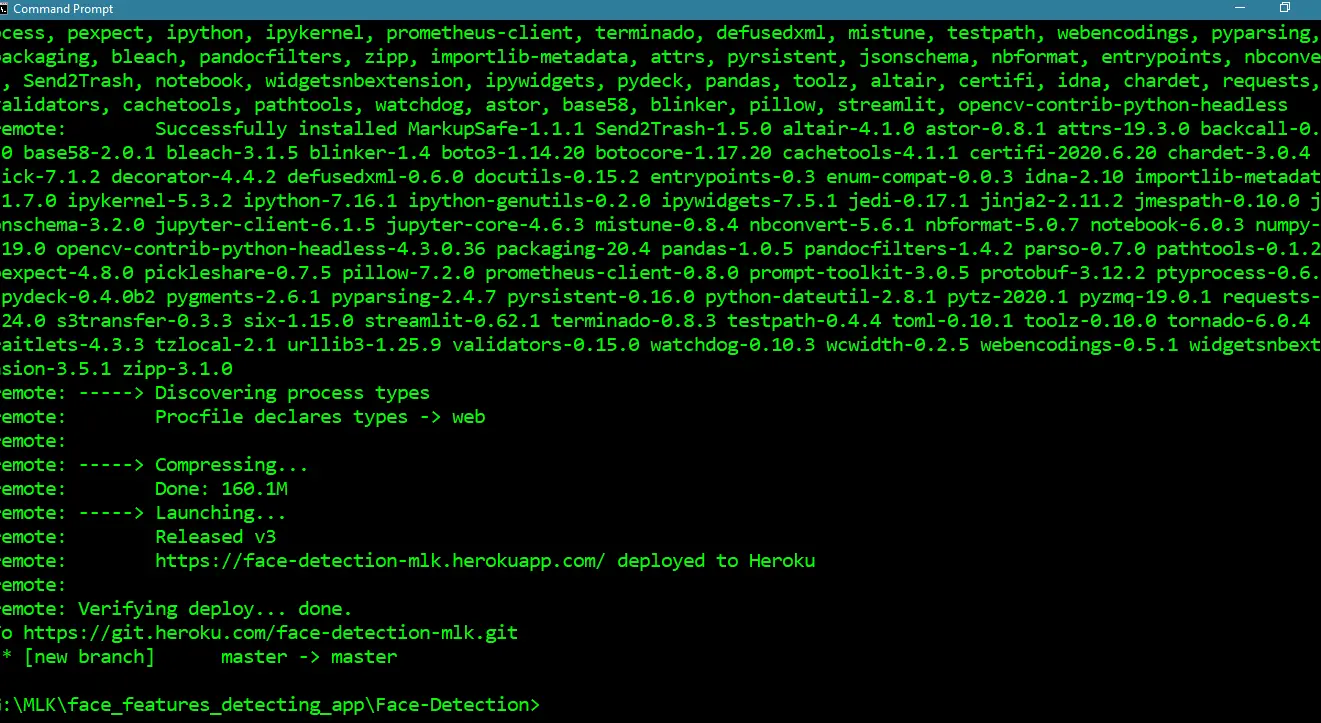
The output of this command will be as follows:
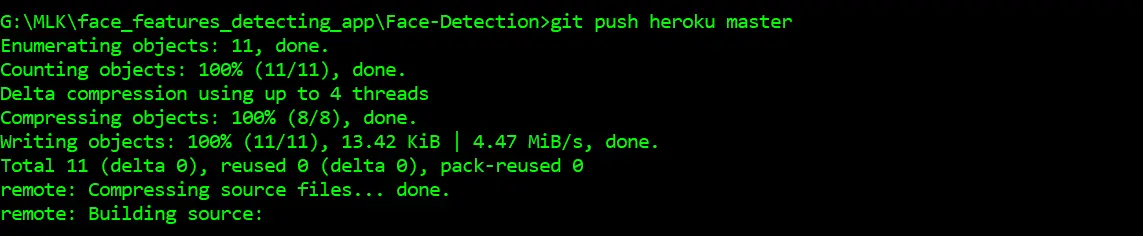
Once all the files are pushed, Heroku starts its process of deployment and we just have to wait for the process to complete. This can take a couple of minutes at max.
Based on the dependencies, Heroku will download the required libraries.
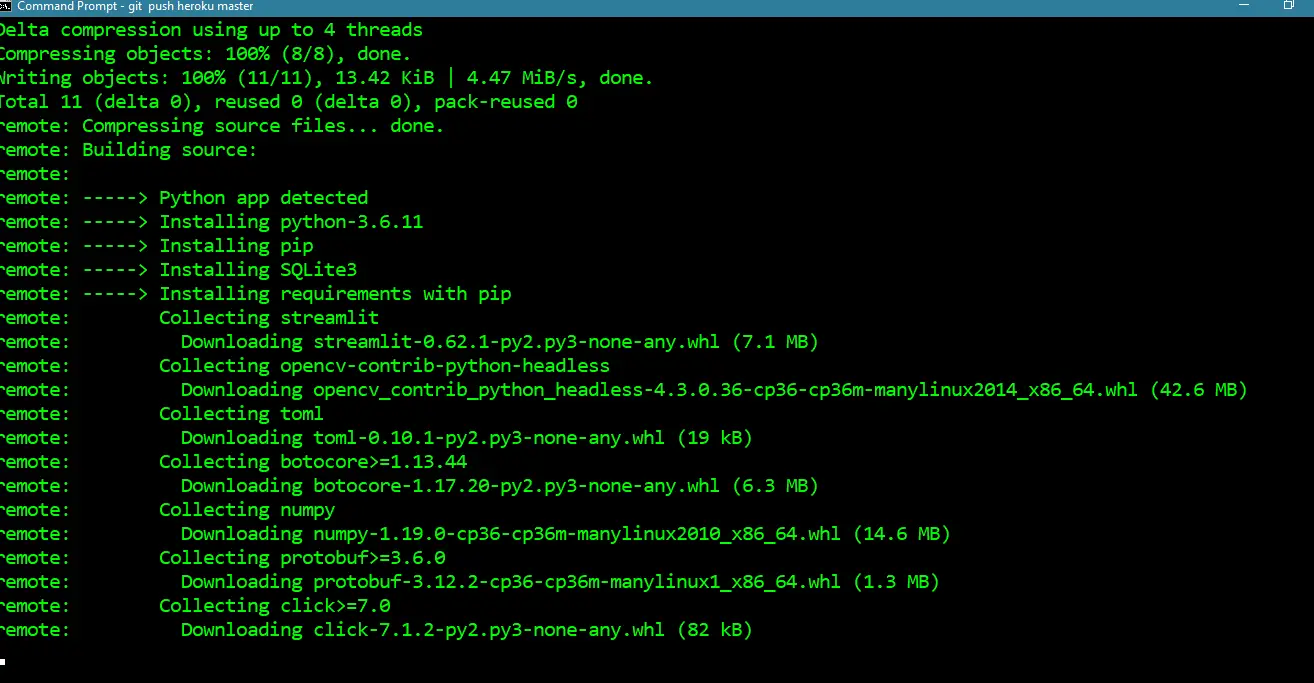
At last if all the steps are performed correctly, our app will be deployed to the link that was obtained earlier.
11. URL of Our Machine Learning Web App
Congratulations! We have successfully deployed our Streamlit based Machine Learning Web App on Heroku and you can find our application live at the following link –
https://face-detection-mlk.herokuapp.com/
The complete code for this tutorial can be downloaded below –
Streamlit Face Detection Web App Code
Conclusion
I hope, you found this article very useful where we showed you how to build a Machine Learning Web App with Streamlit and Python. We also gave a detailed explanation of how to deploy the Streamlit application on Heroku so that it can be accessed over the internet.
- Also Read – 9 Machine Learning Projects in Python with Code in GitHub to give you Ideas
- Also Read – 13 Cool Computer Vision GitHub Projects To Inspire You
- Also Read – 11 Interesting Natural Language Processing GitHub Projects To Inspire You
- Also Read – 7 Reinforcement Learning GitHub Repositories To Give You Project Ideas

