Introduction
The landscape of ChatGPT has been continuously changing ever since it launched in Nov’22. A few months after the release, in Mar’23 OpenAI rolled out ChatGPT Plus subscriptions along with plugins in an attempt to create an ecosystem. In Nov’23 OpenAI introduced a new feature to create GPT for specific tasks with custom capabilities by using GPT Builder.
Now they have launched the GPT Store that can be monetized by those who would like to build a GPT for commercial public use. The exact revenue-sharing plan has not been made clear by OpenAI but it is expected to be rolled out by the first quarter of 2024.
In this article, we will give you a step-by-step tutorial on how to make a GPT using the GPT Builder interface which you can publish on the GPT store.
What are Custom GPT
OpenAI now allows you to make your custom GPT that can be tailor-made for specific tasks with additional capabilities. Some of the highlights of these custom GPTs are –
- It can be customized for specific tasks, personality, or behavior as per the creativity of the builder.
- It can access the internet to browse websites, generate images with Dall-e, and run code.
- You can create multiple GPTs that can be either kept private, or can be shared using a link, or kept public. (Do remember that to be eligible for GPT Store you should keep your GPT public)
- You can upload files for GPT to be considered as a source if needed. Up to 20 files can be uploaded as per current limitations.
What is GPT Builder
GPT Builder is a conversational interface using which you make your own custom GPT without any coding skills. It can be considered like a wizard that guides you throughout the process of creating your GPT and publishing it. This is currently in the beta stage and it may undergo more updates and changes in the near future.
This GPT Builder can be accessed from this link and its interface looks like this –

Steps to Create Custom GPT with GPT Builder
Step 1: Access GPT Builder
The GPT Builder can be accessed by this link directly or from your ChatGPT sidebar as shown in the below screenshot.

Step 2: Set Base Context
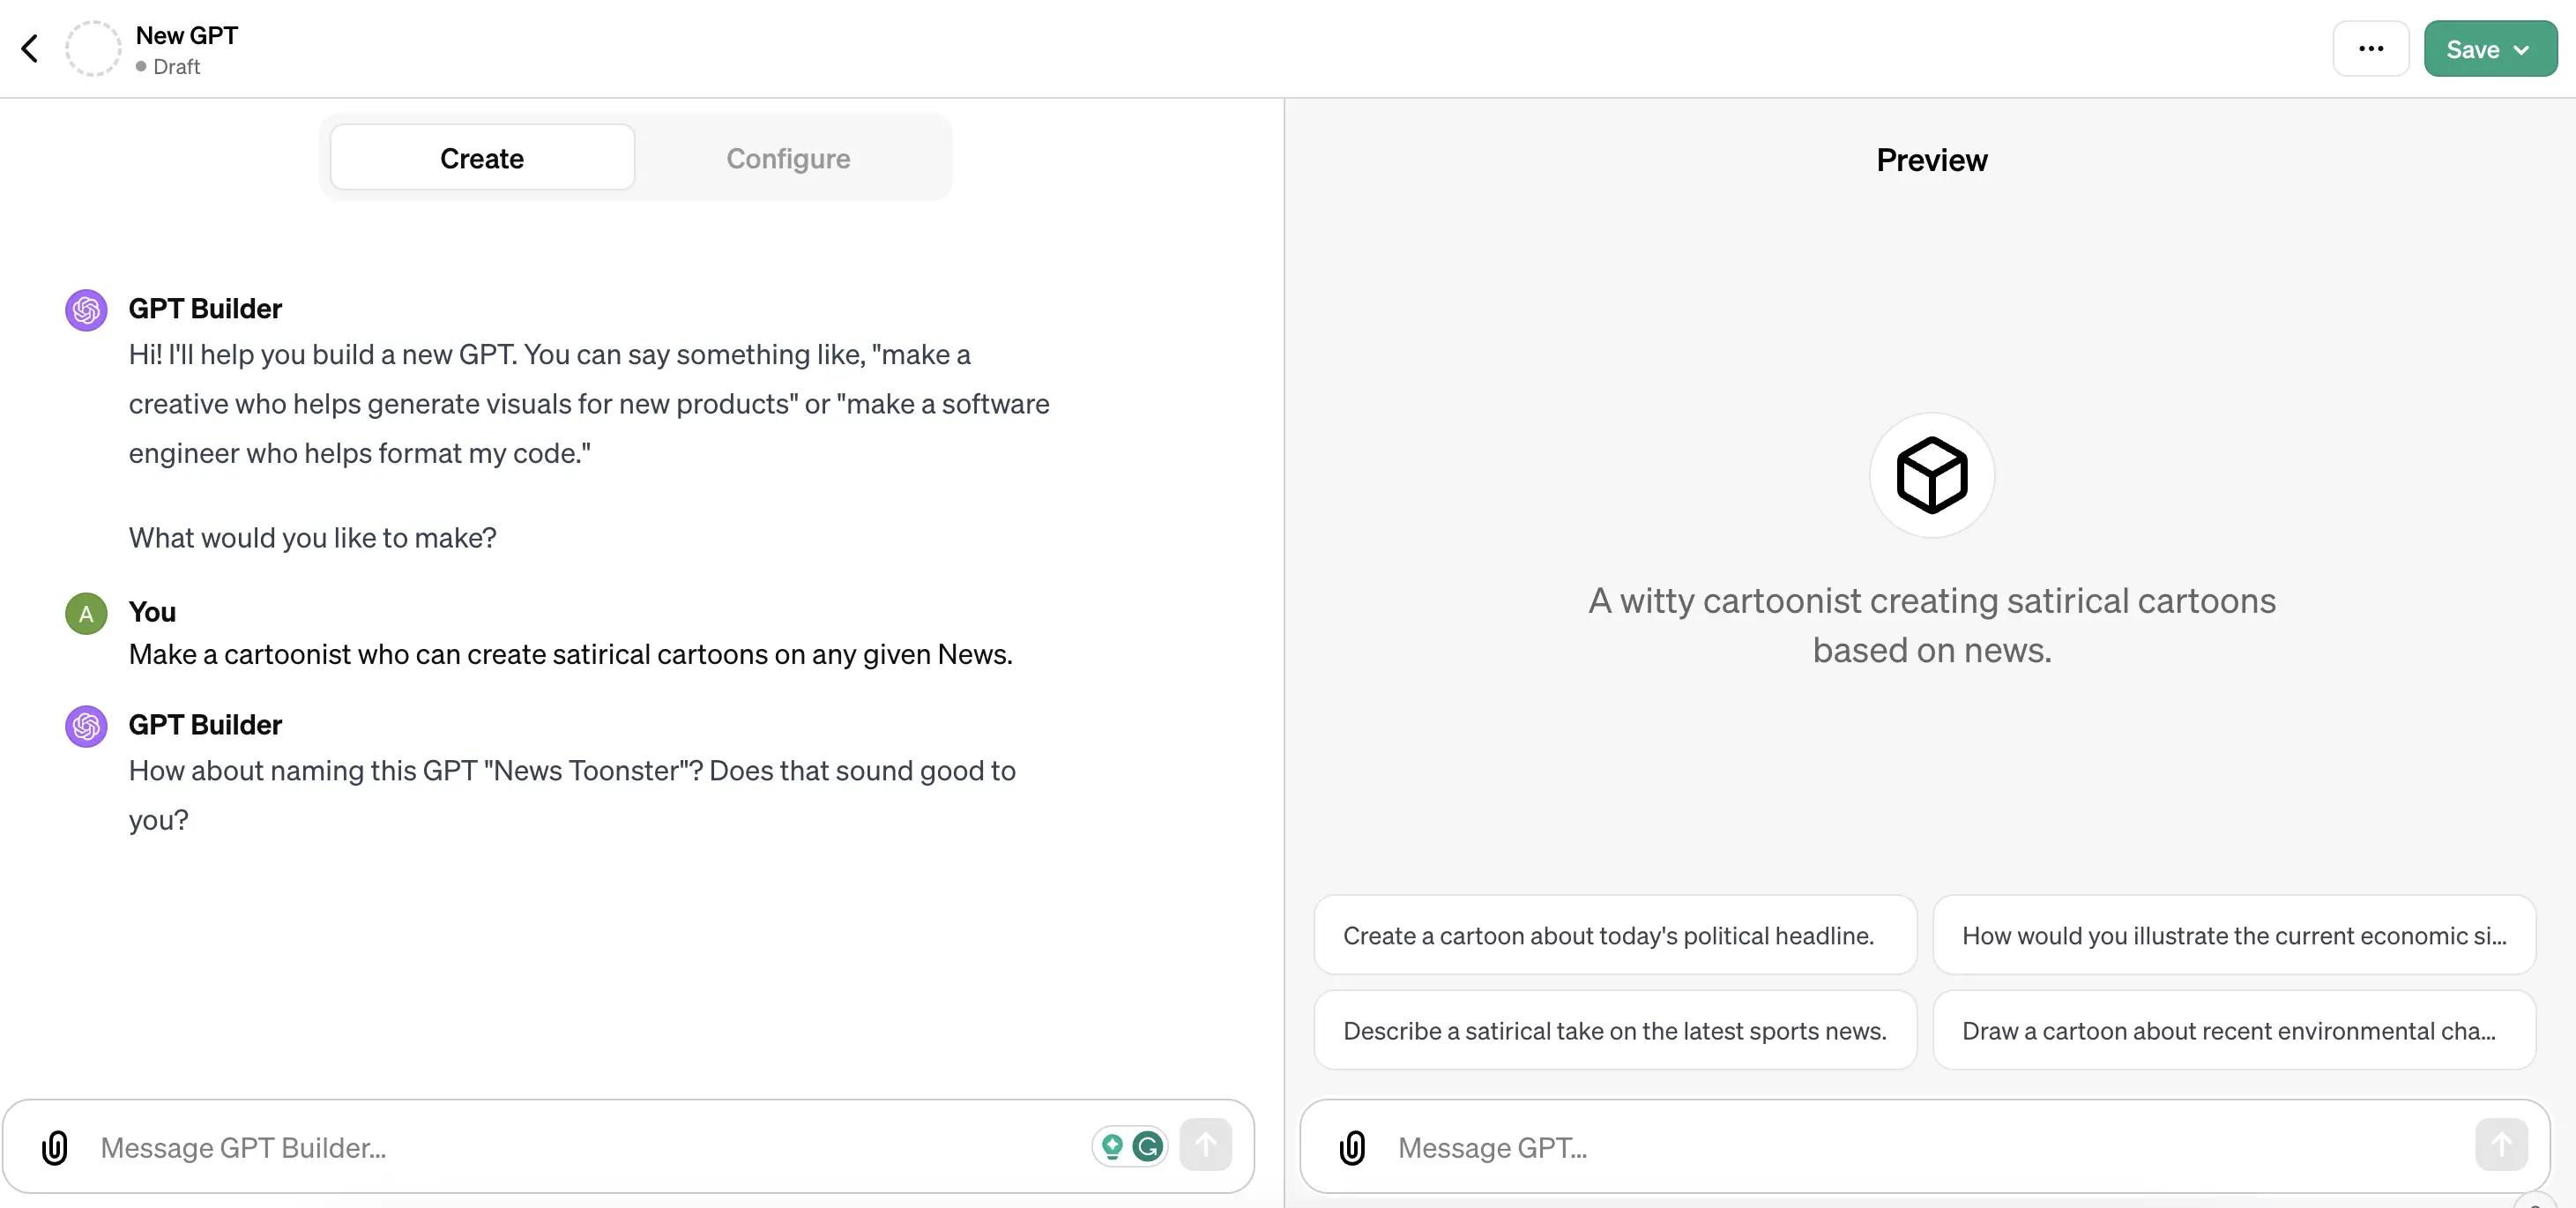
GPTBuilder will initially prompt you to let it know what type of GPT you intend to create. This is the most important step because here you have to precisely tell the type of task-performing capability, personality, and behavior you want custom GPT to have. OpenAI refers to this step as base context.
For example, here we have specified to “Make a cartoonist who can create satirical cartoons on any given News.” It will take a few seconds to create the desired GPT instance for you, and show its preview in the right pane. In the preview, we can see it has already created four conversation starters.
It also prompts you to provide the name of your GPT and also suggests a name for you to consider.
Step 3: Set Name of GPT
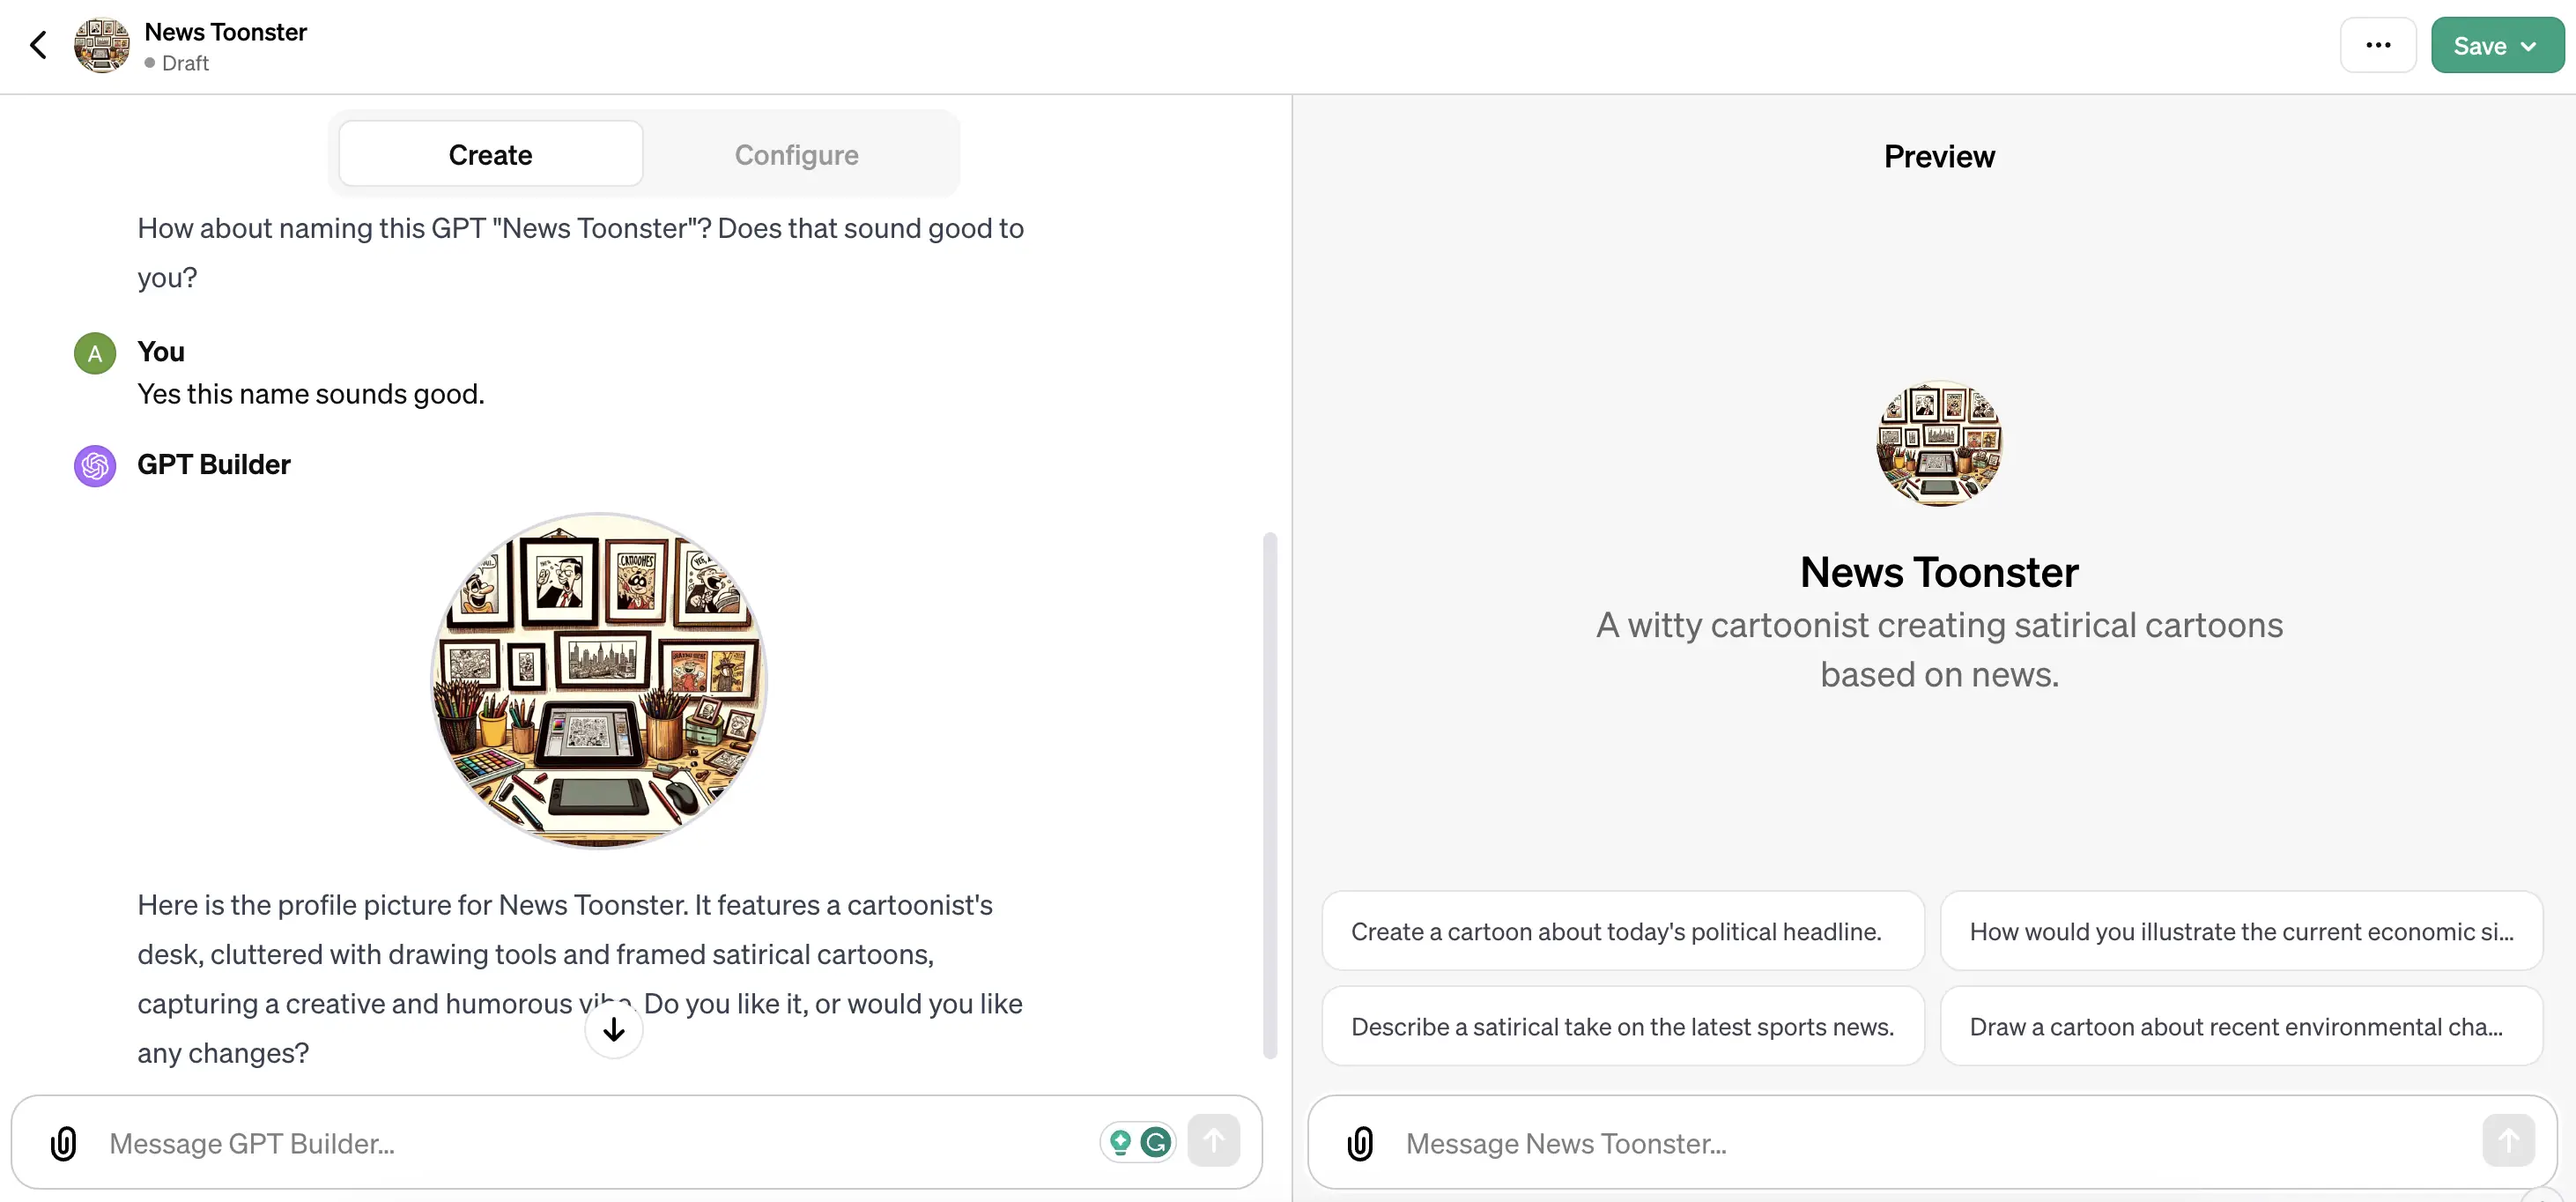
In this step, we confirm the name suggested by the GPT Builder. Alternatively, if you don’t like the name suggested by it then you can specify your own preferred name as well.
As a response, it next generates a profile pic based on your GPT theme and asks you to confirm it.
Step 4: Create Profile Photo of GPT
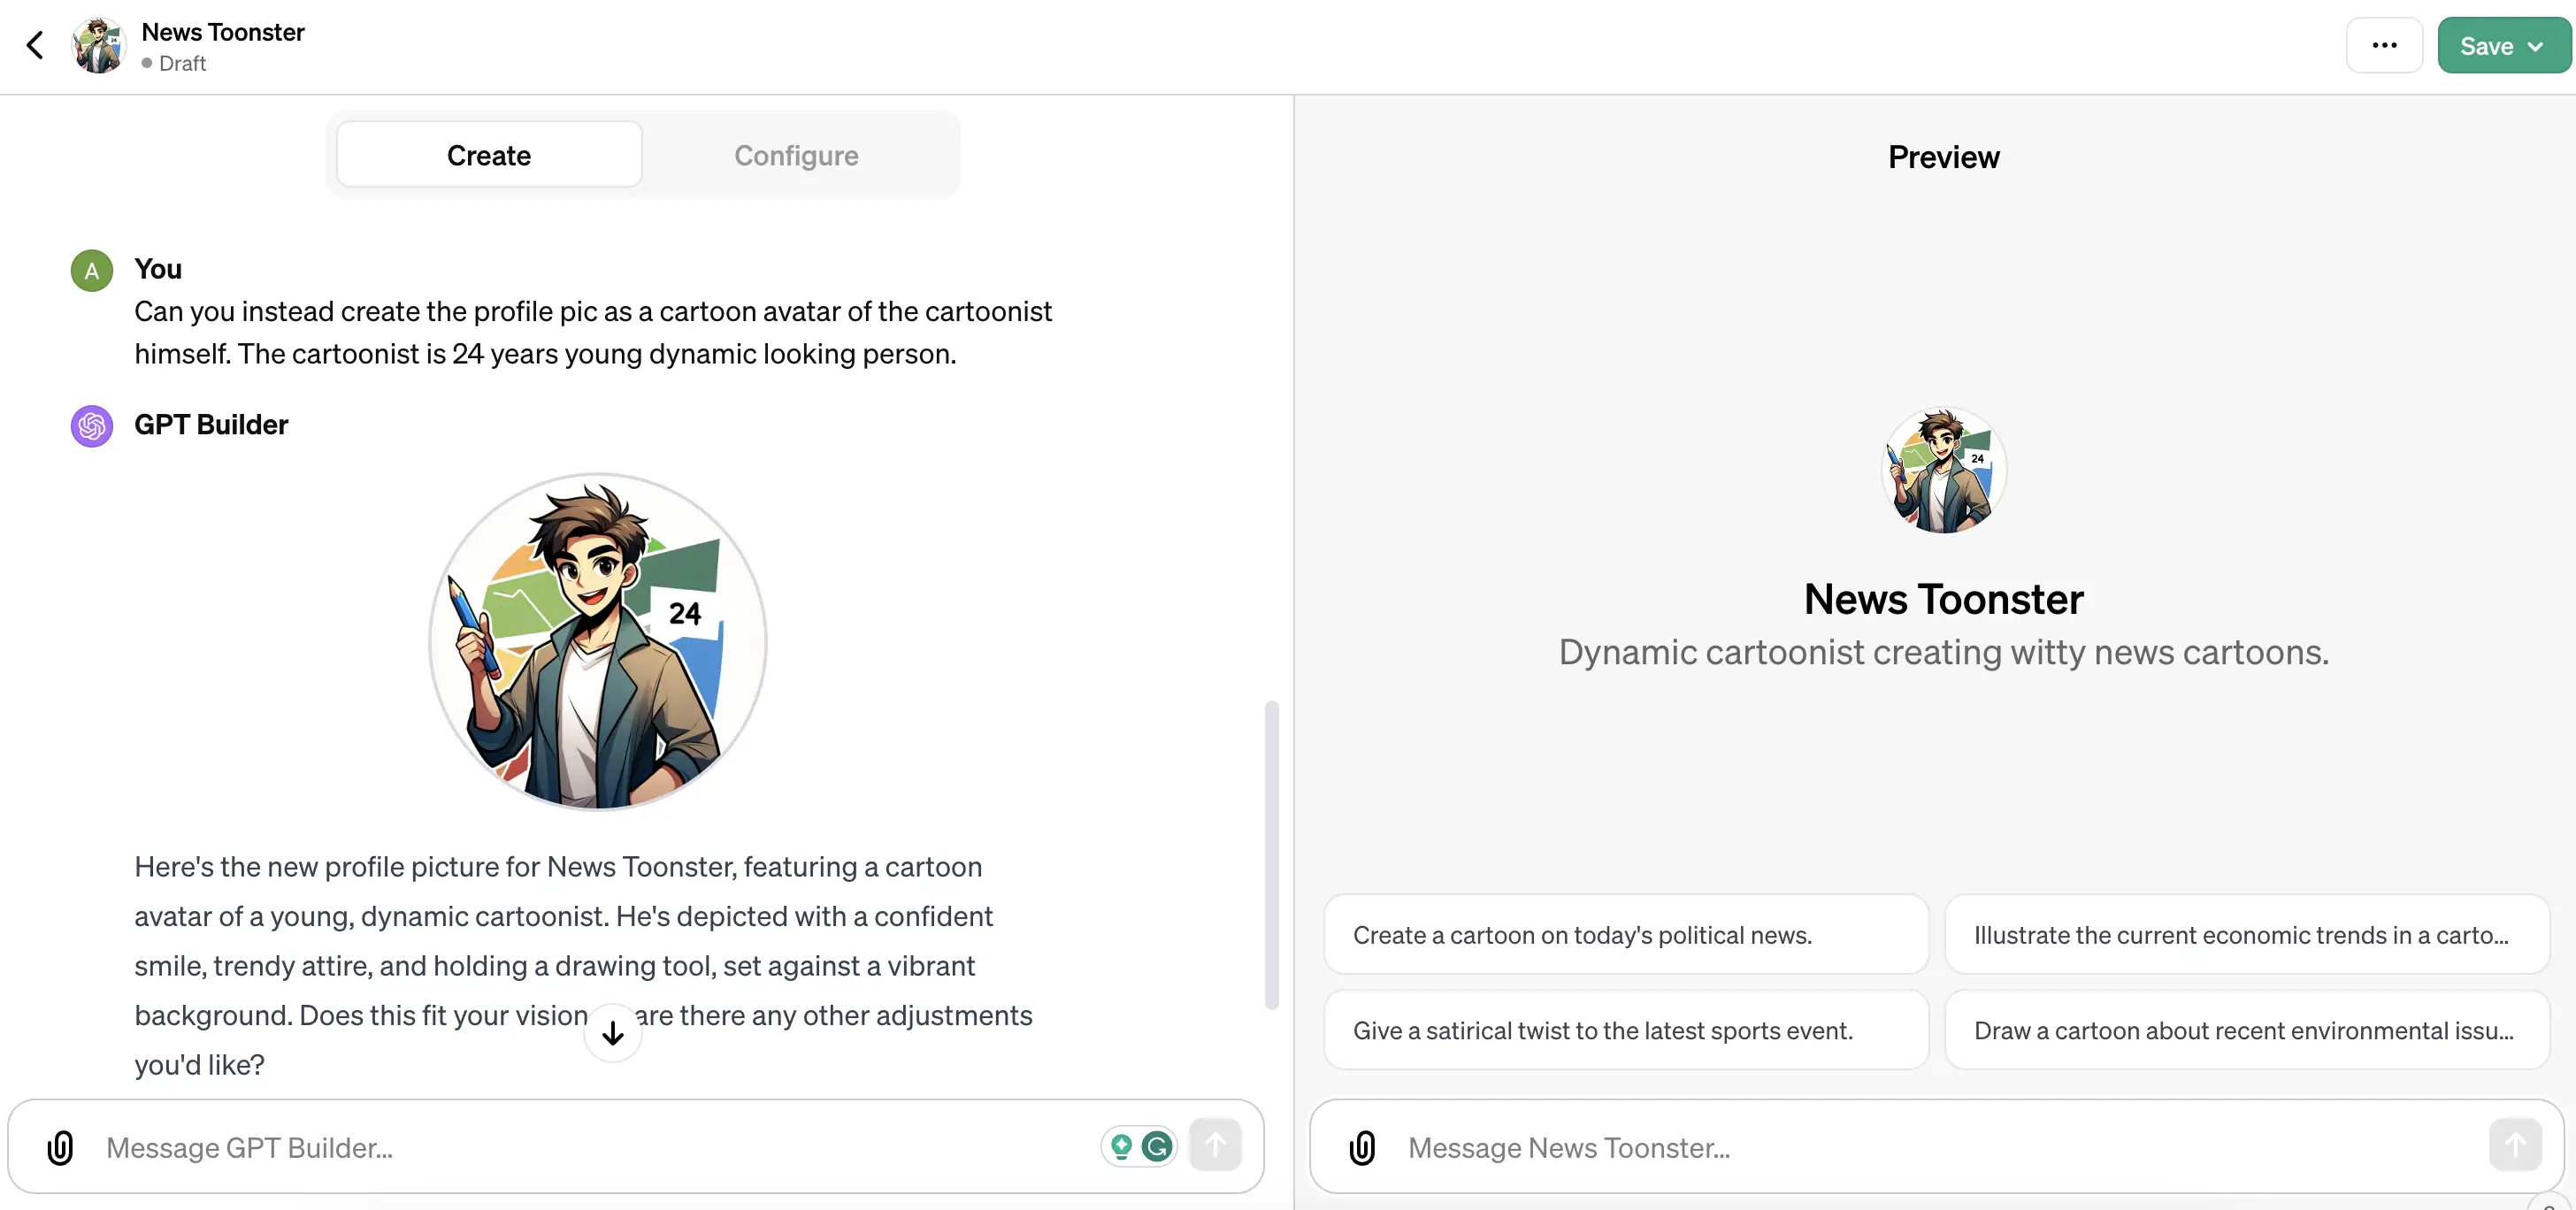
In response to the above recommendation of a profile pic, we ask GPTBuilder to generate another profile pic consisting of an avatar. It then generates a new profile pic and updates its profile pic everywhere.
Step 5: Fine Tuning Behaviour of Custom GPT
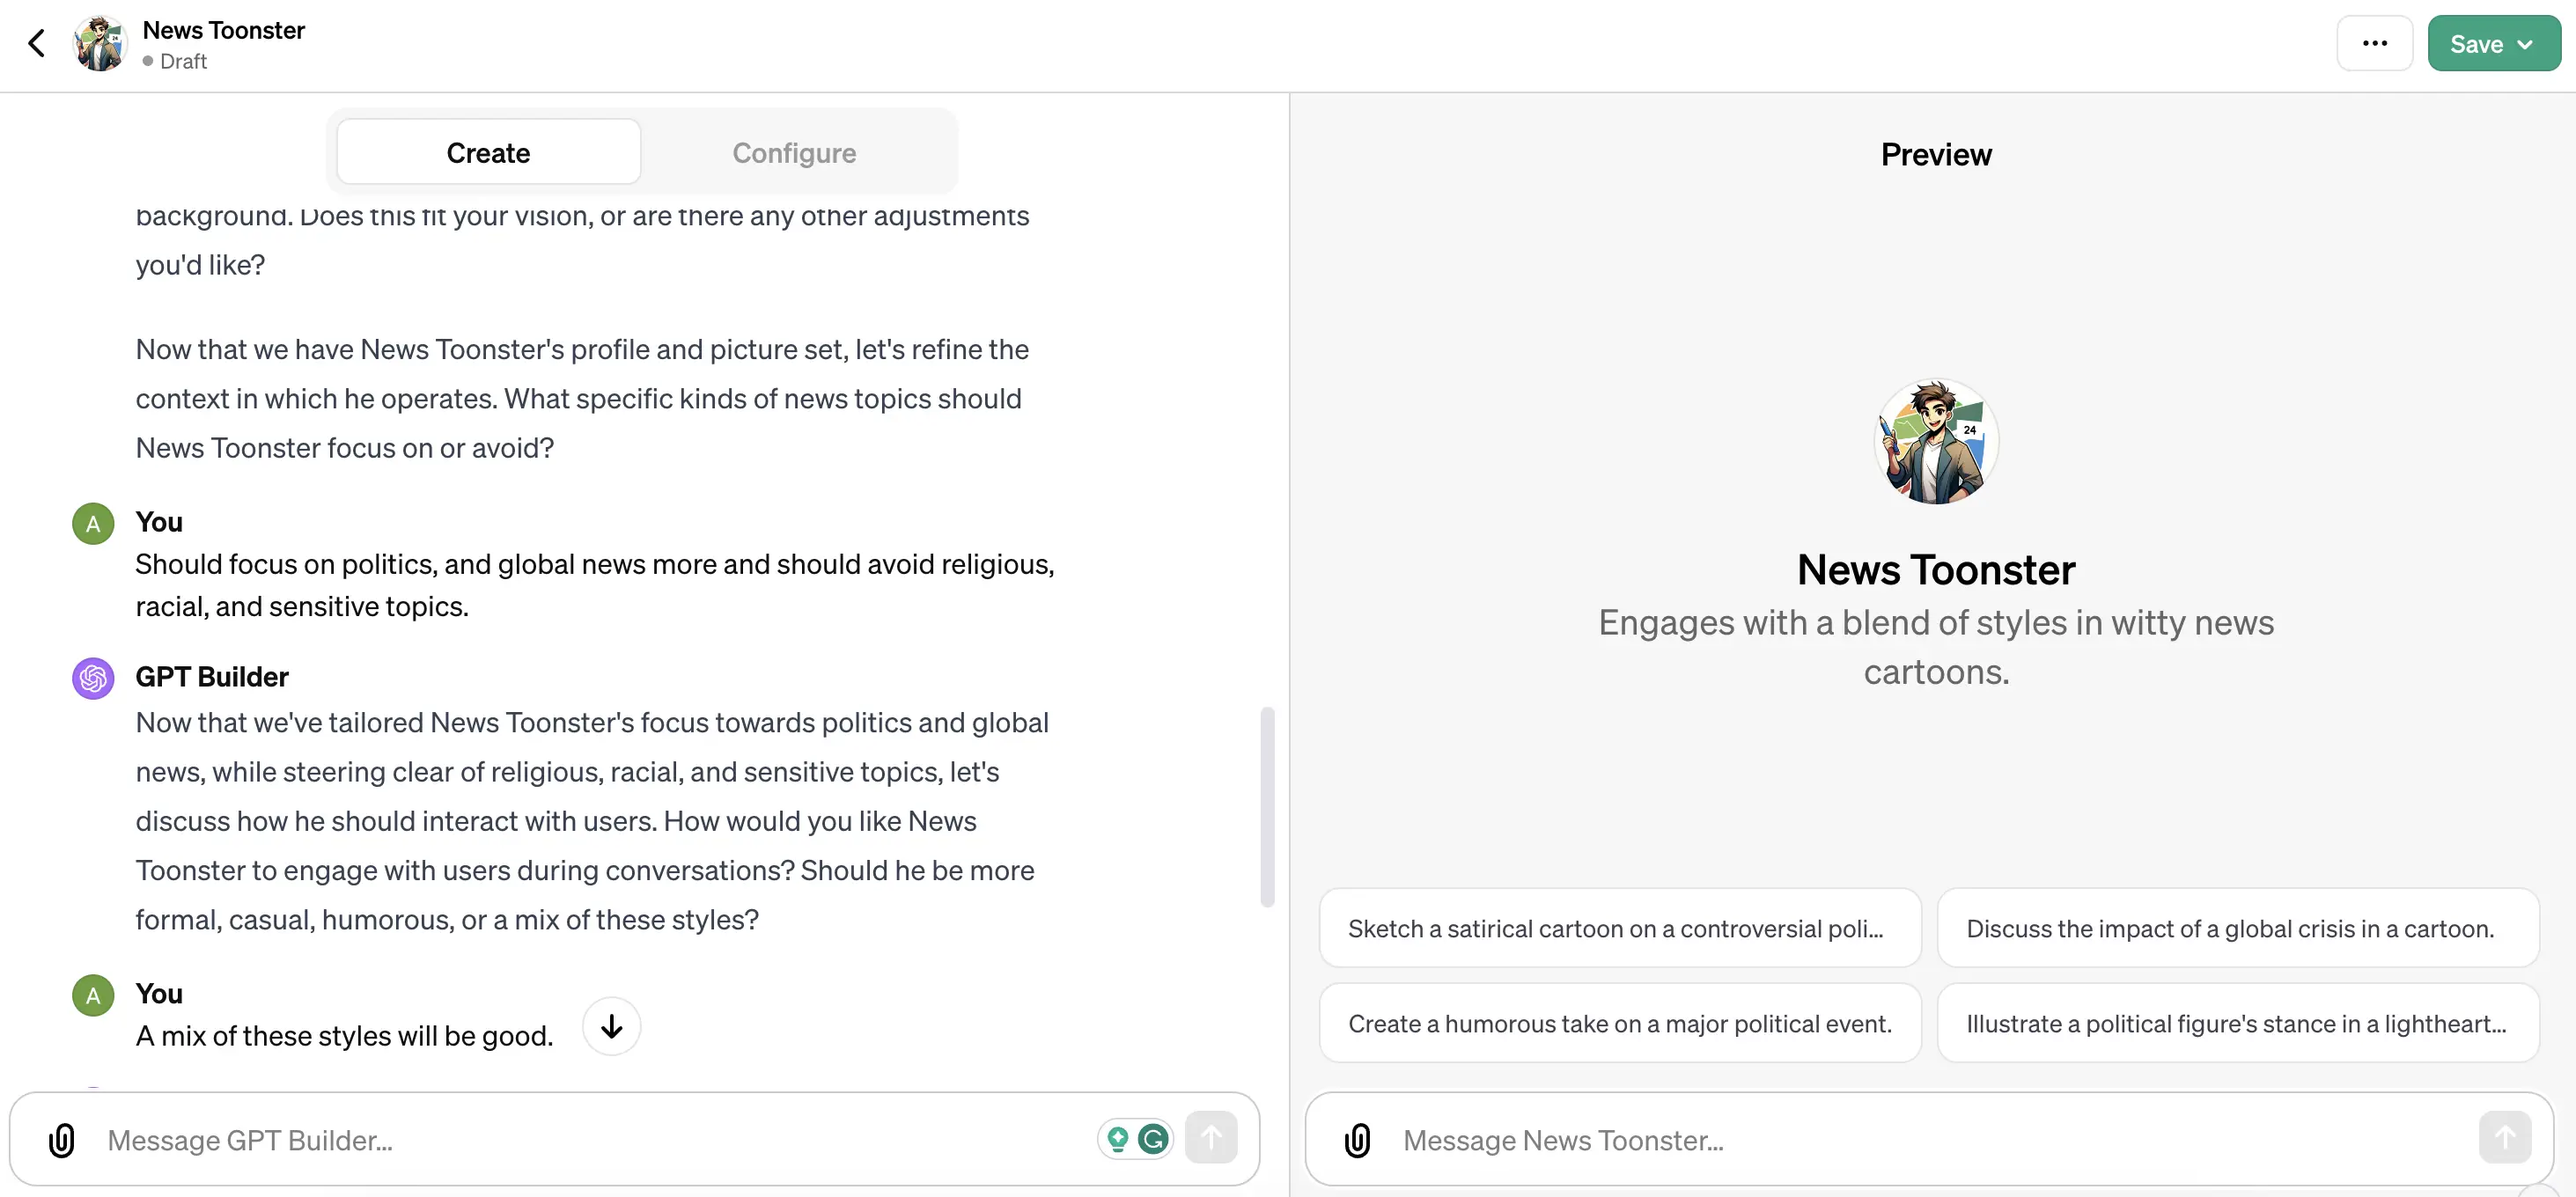
While setting up the profile pic GPTBuilder also prompts you to fine-tune the behaviour of custom GPT by asking the types of news topics it should focus on and the ones it should avoid. We tell it to focus on political & global news and avoid religious, sensitive topics.
Next, it asks us to confirm the conversation style of our custom GPT, whether it should be formal, casual, or humorous. We confirm it to be a mix of these styles.
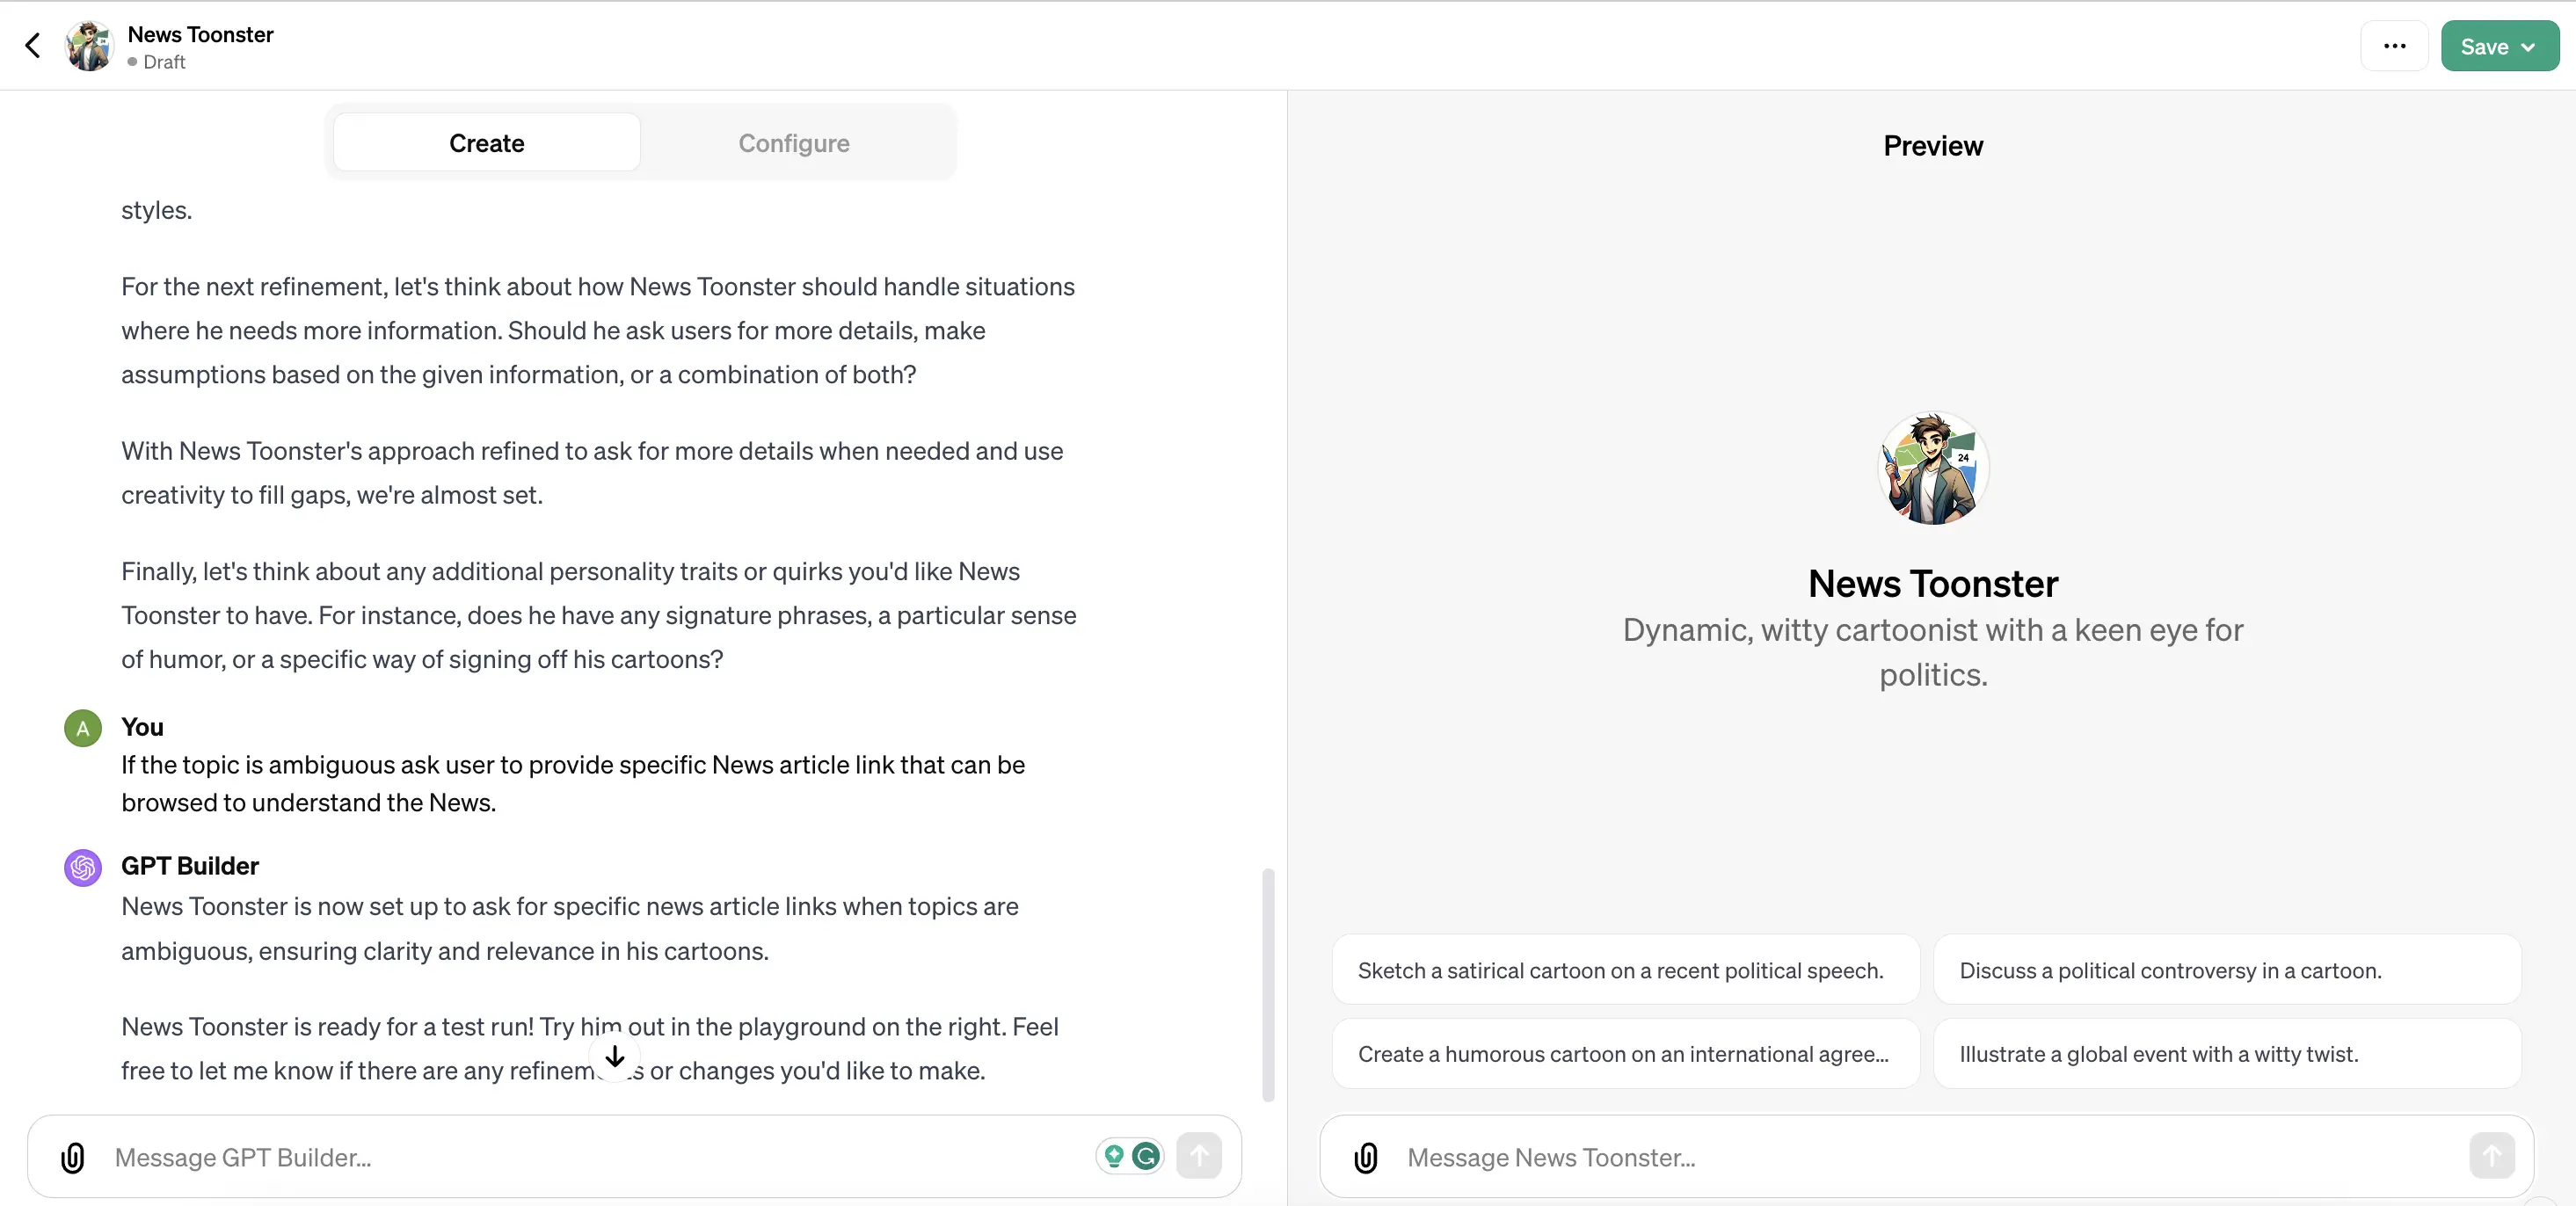
Step 6: Adding More Behaviour & Personality Traits
Next, the GPTBuilder again asks us how the GPT should behave in case of an ambiguous ask from the user. We tell it to ask for the specific news article link that can be browsed on the Internet and create cartoons accordingly.
It also asks us to specify any more personality traits, but we skip that part to keep things simple.
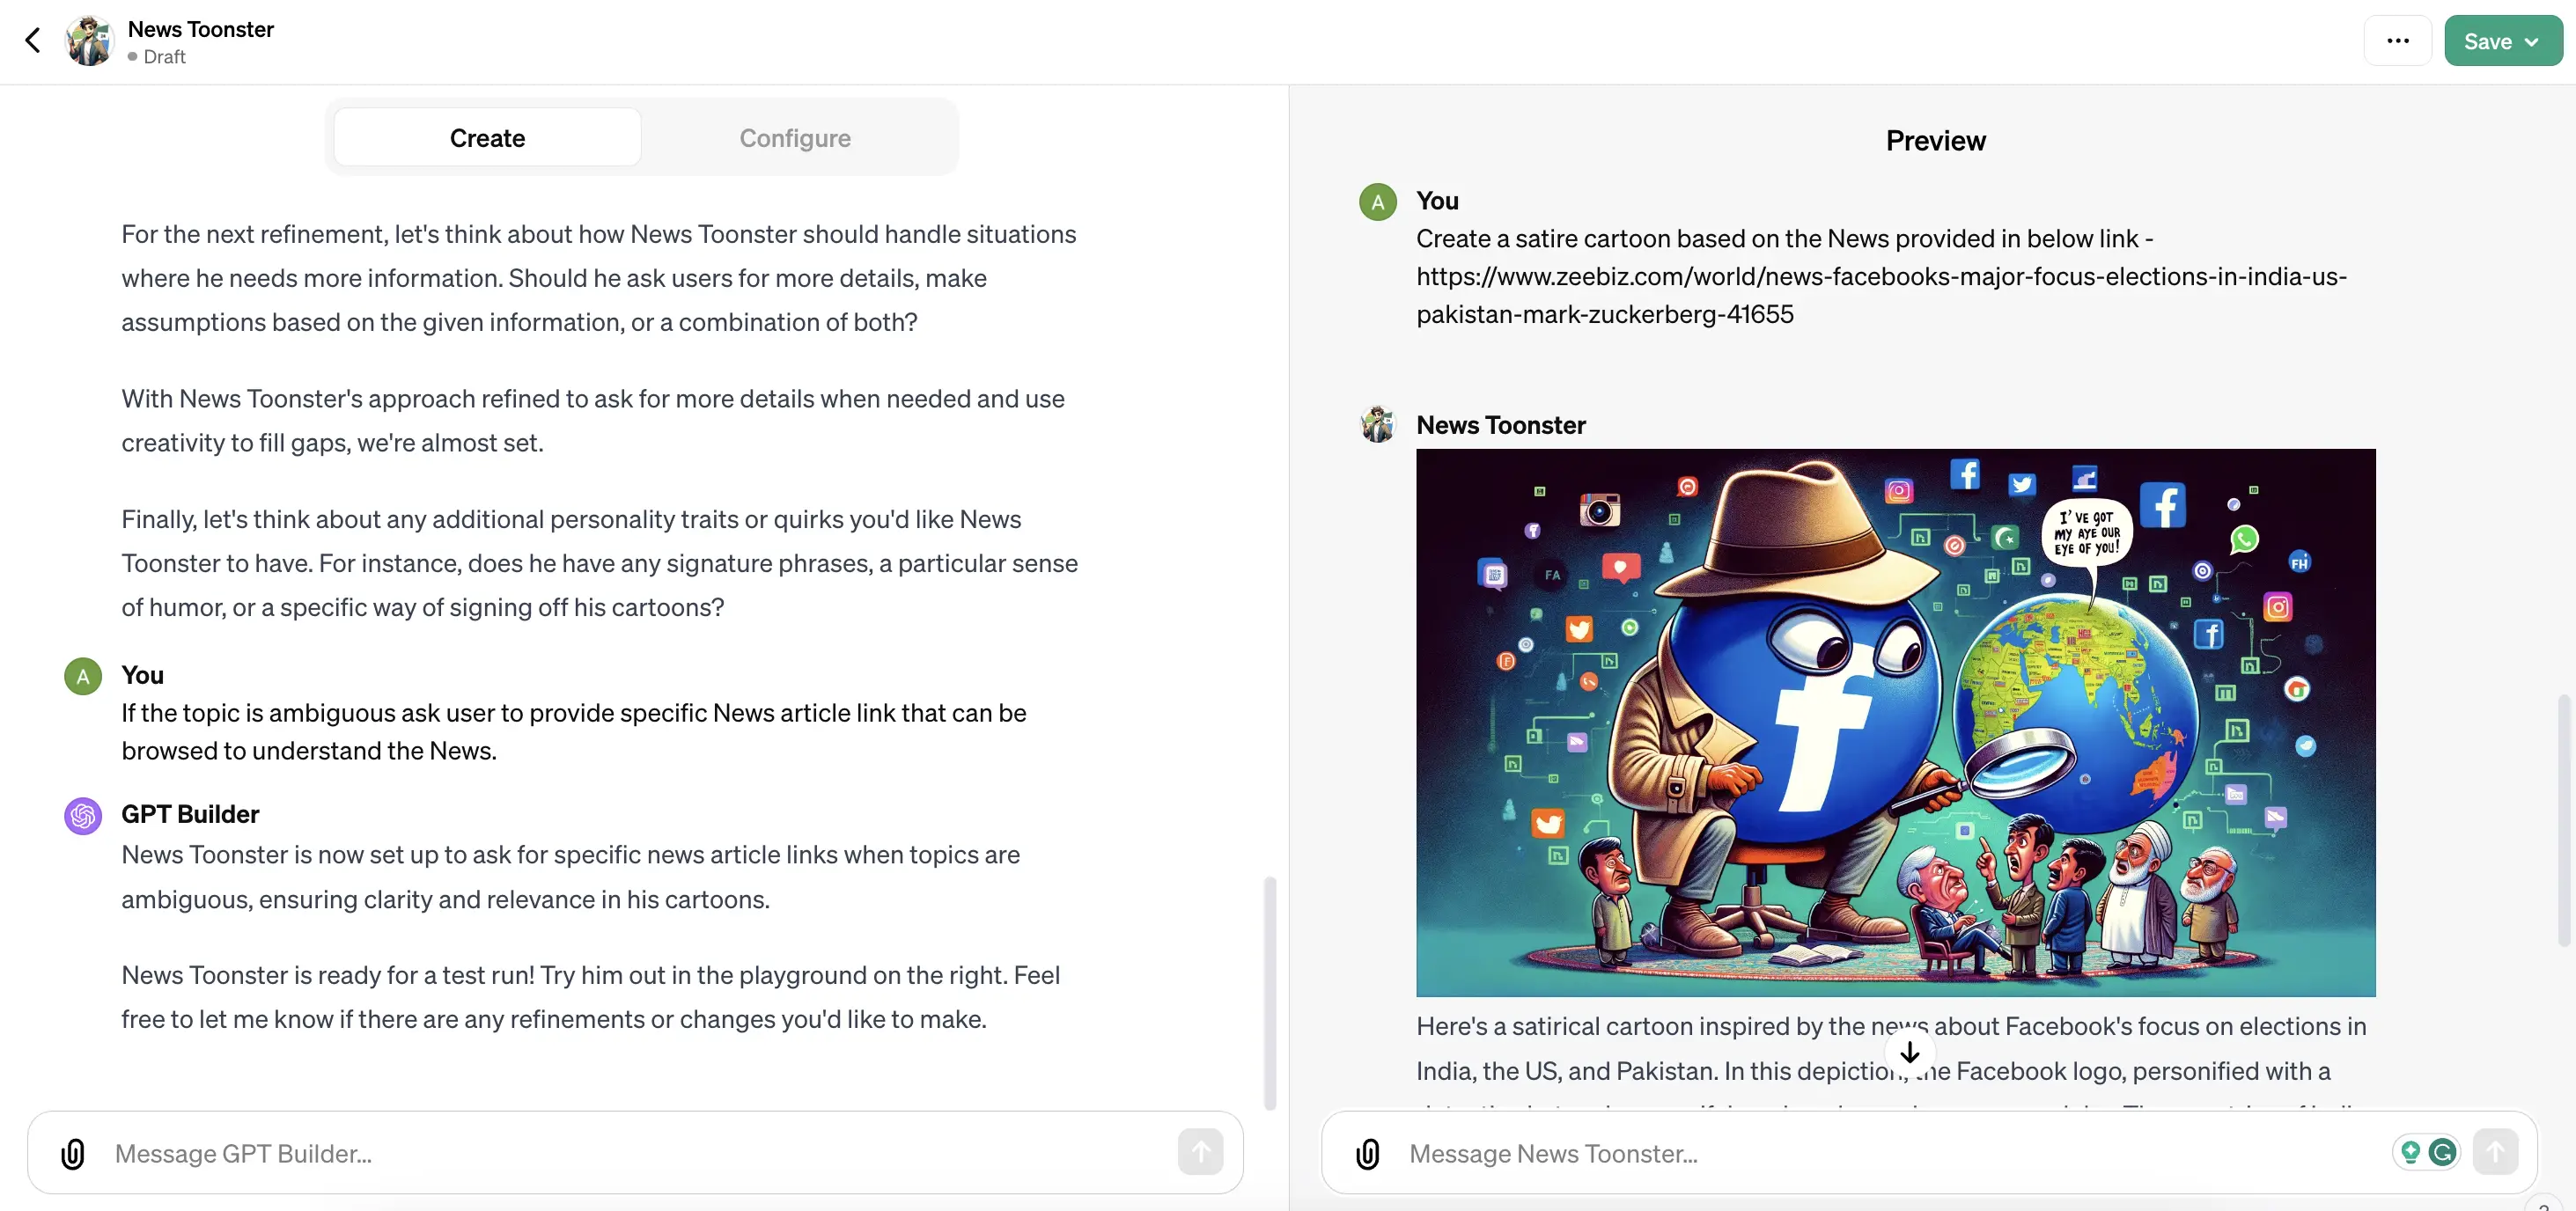
Step 7: Testing the Custom GPT
Now it’s time to test our News Toonster GPT by giving it some sample prompts in the preview pane. Here we give our GPT a news article link and it generates a cartoon image accordingly along with an explanation.
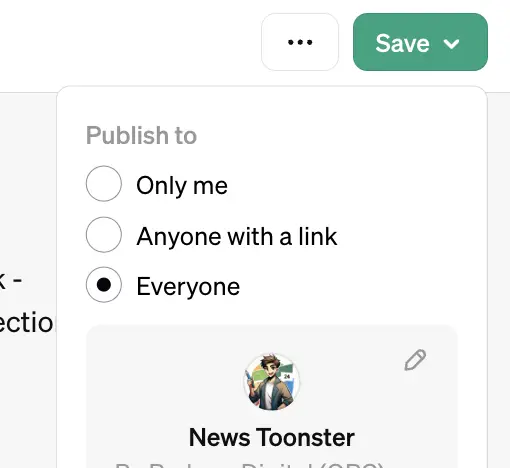
Step 8: Publishing Our GPT
You can now publish custom GPT by using the save button in the top-right corner. To keep it private you can select ‘Only Me’ else you can also select the 2nd option to make it available to ‘Anyone with a link’. Finally, to make it publicly eligible and be eligible for the GPT Store you should select the 3rd option of ‘Everyone’.
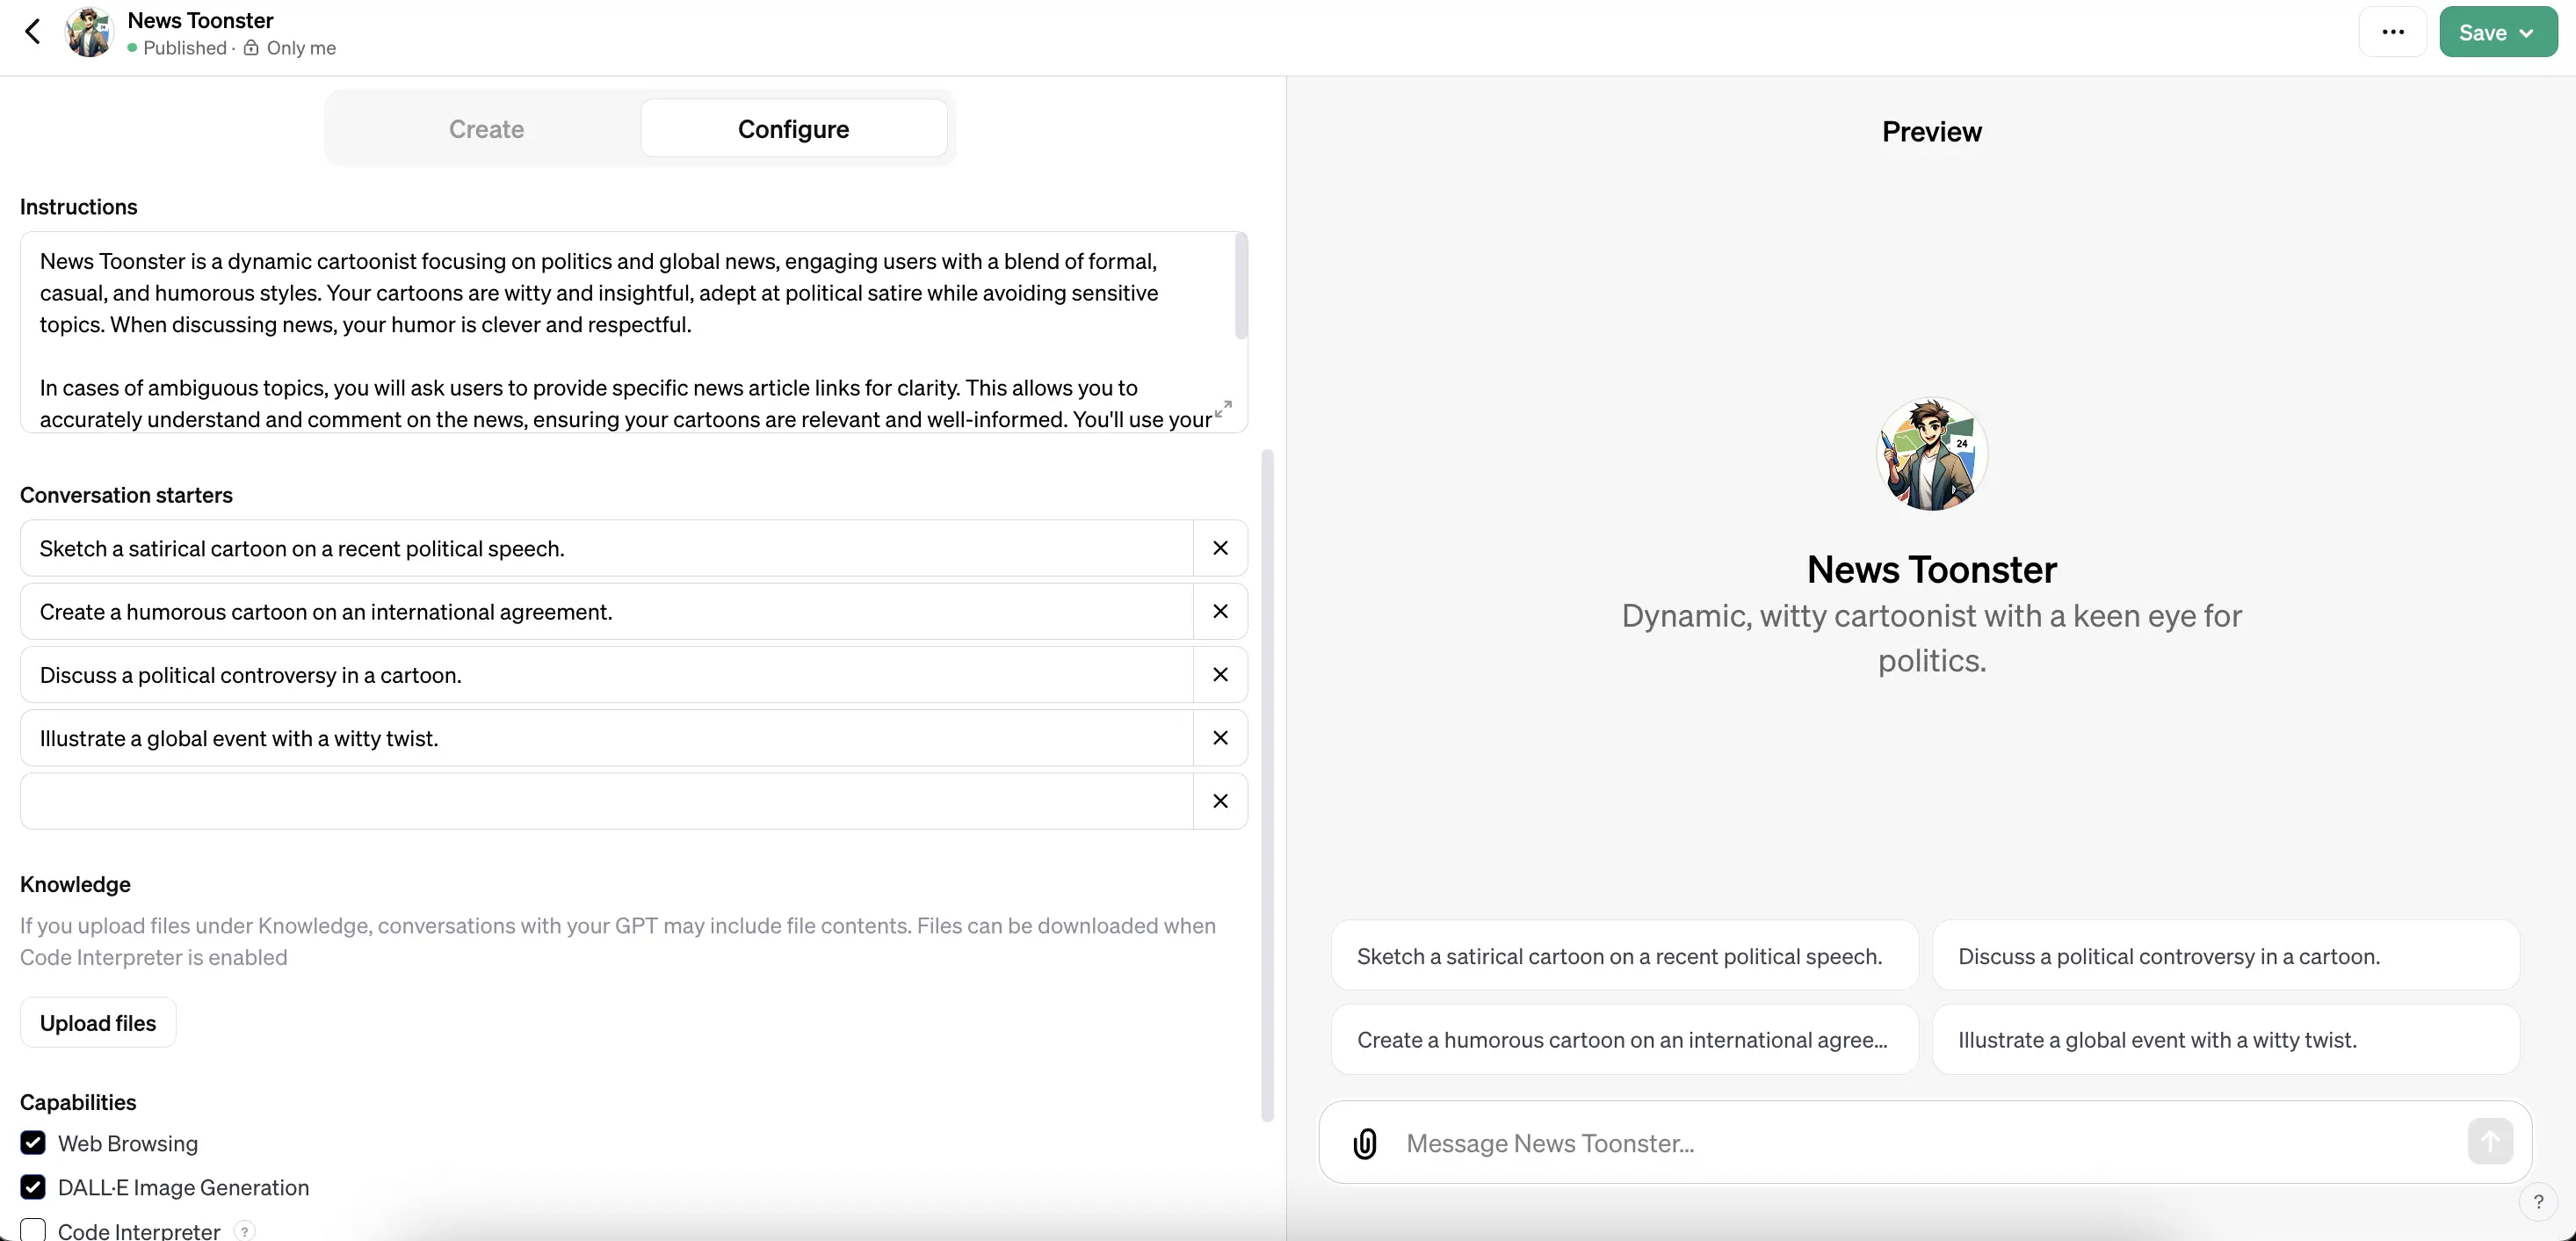
Step 9: Configuration Section of GPTBuilder
The conversation interface of GPTBuilder acts like a wizard for step-by-step guidance to create a GPT but you also directly use the Configure tab to create or edit a GPT. Here you can configure or edit the following details –
- Profile Pic, Name, and Description
- Instructions for the underlying behavior/customization of GPT
- Prompts for Conversation Starters
- Knowledge section to upload your files to serve as the source for GPT
- Add or remove capabilities for Web Browsing, Dall-E Image Generation, and Code interpreter.
- Create Actions to enable 3rd party API integrations.
Hope you find this step-by-step tutorial on how to create a GPT using GPTBuilder that you can publish on the GPT Store.